
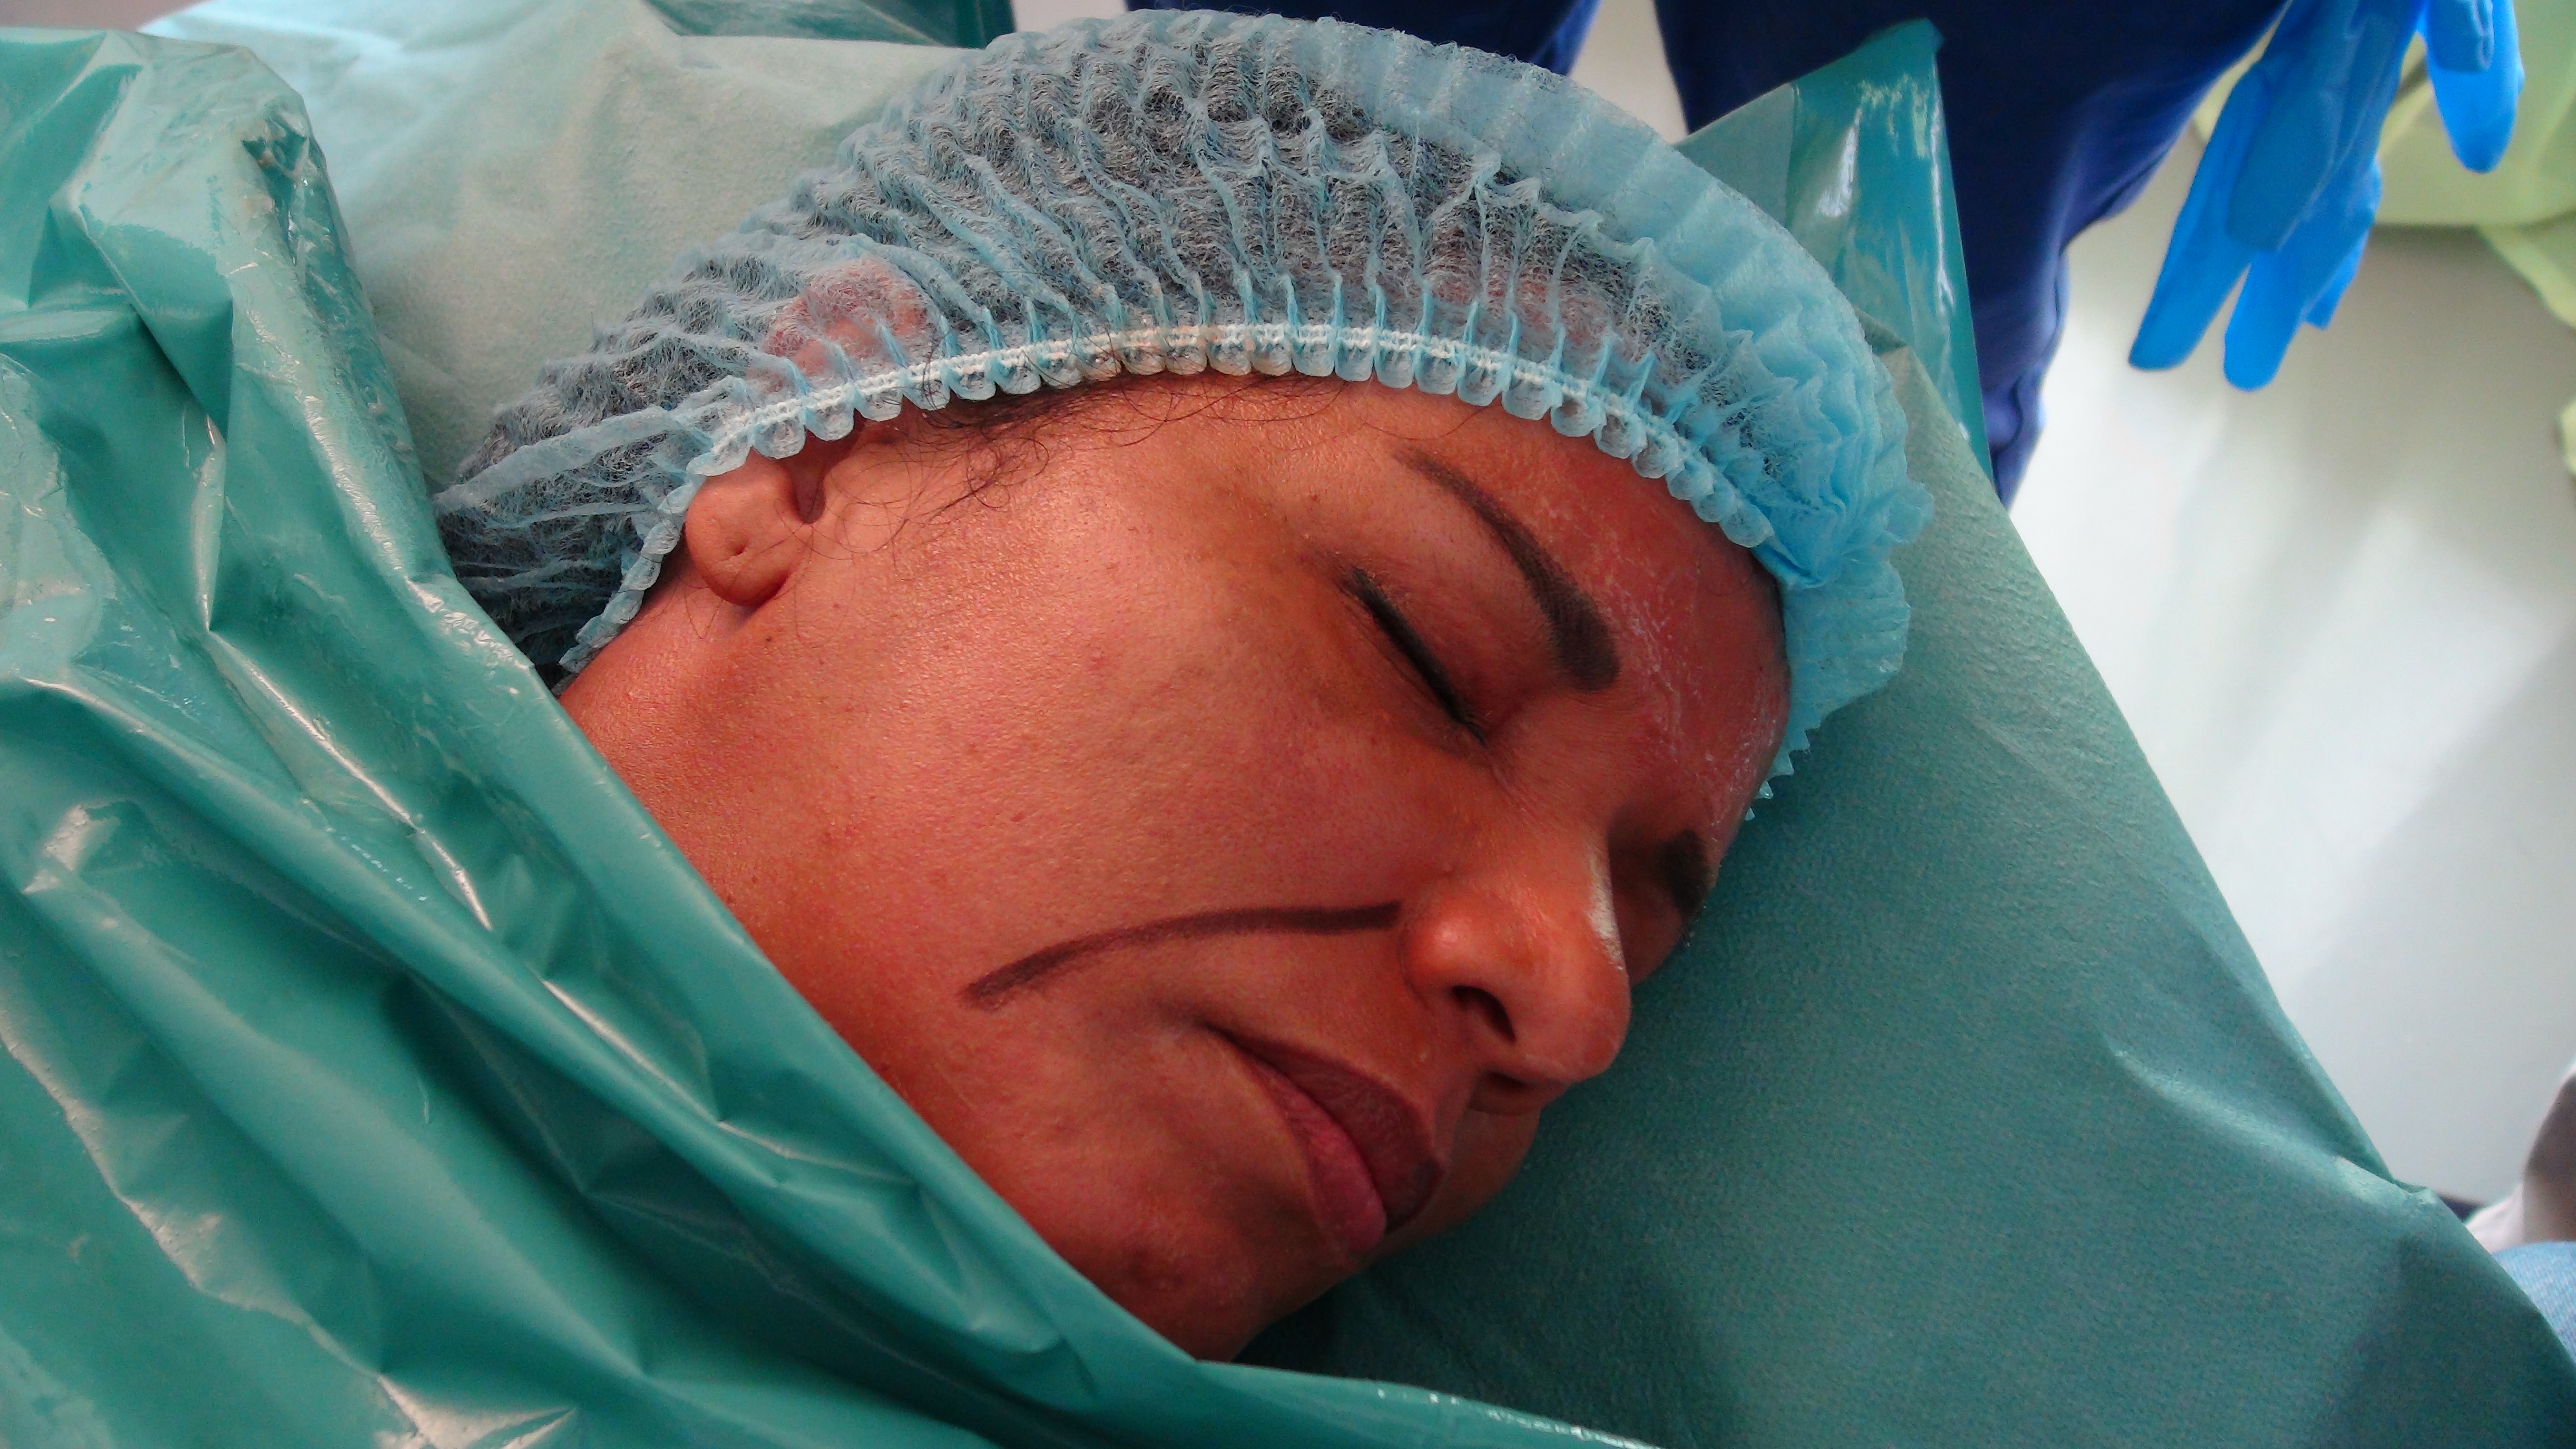
Middle Third
Loco Regional Technique
Marking Vectors
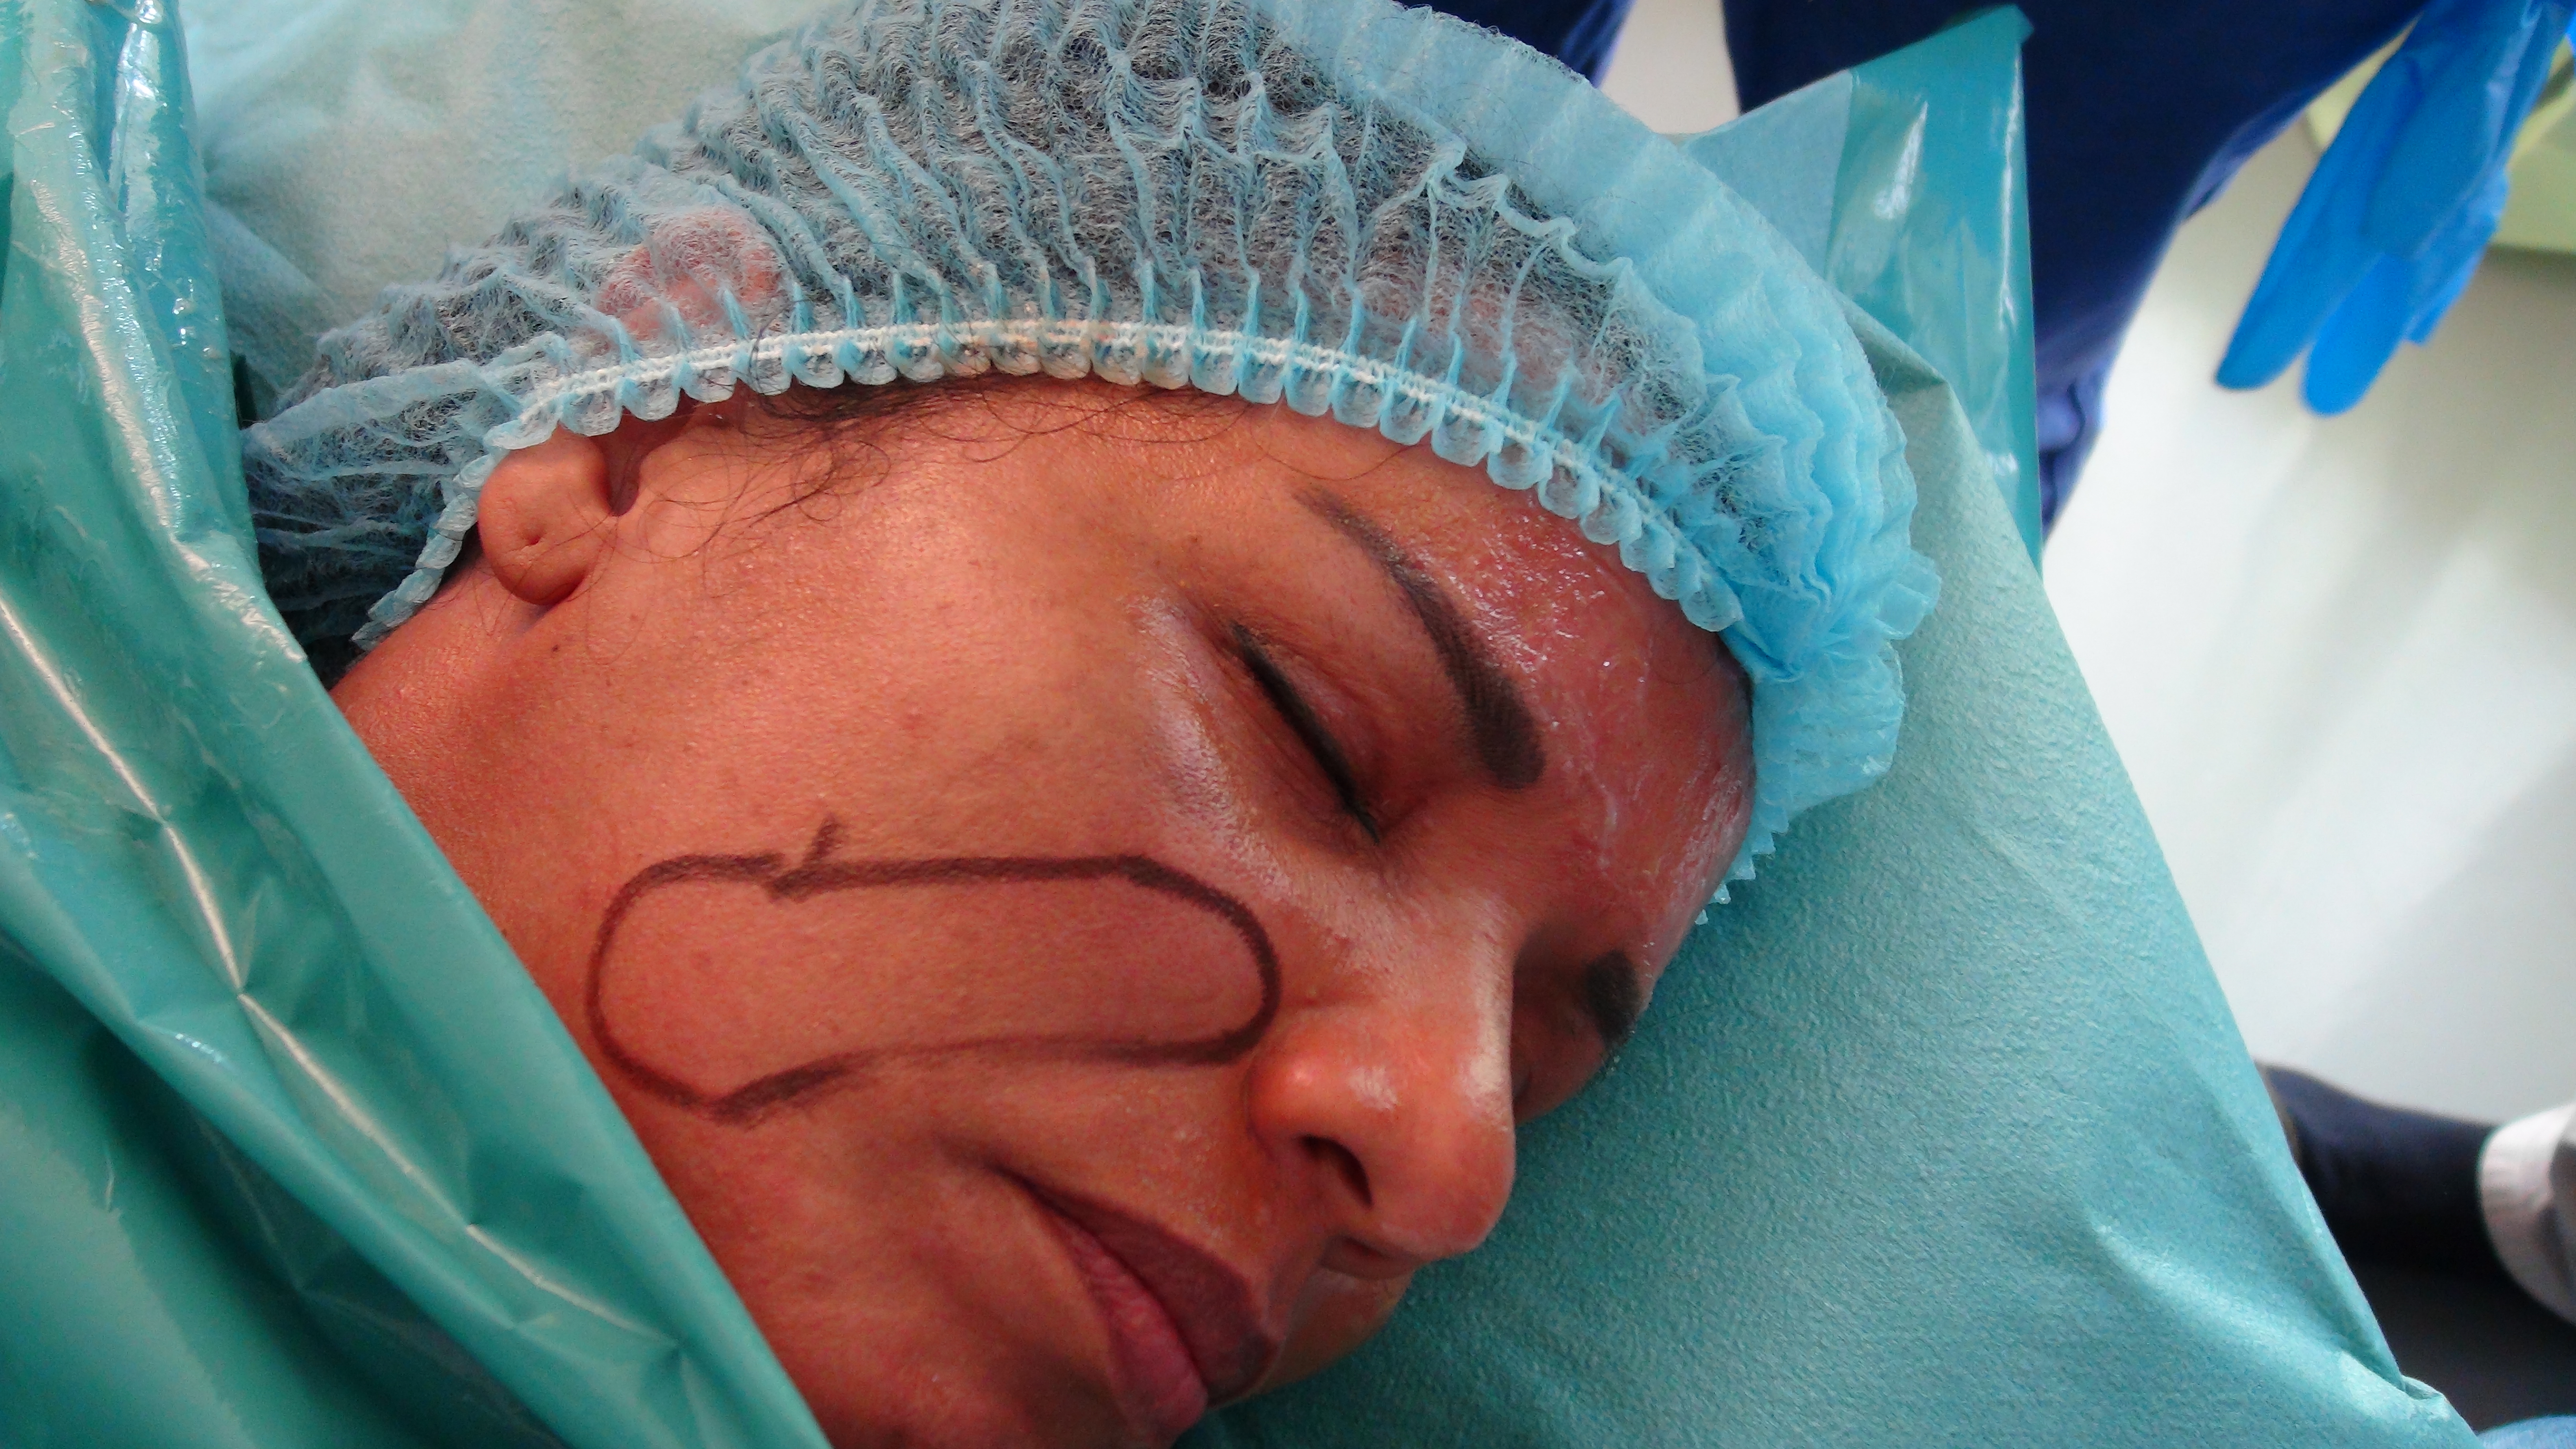
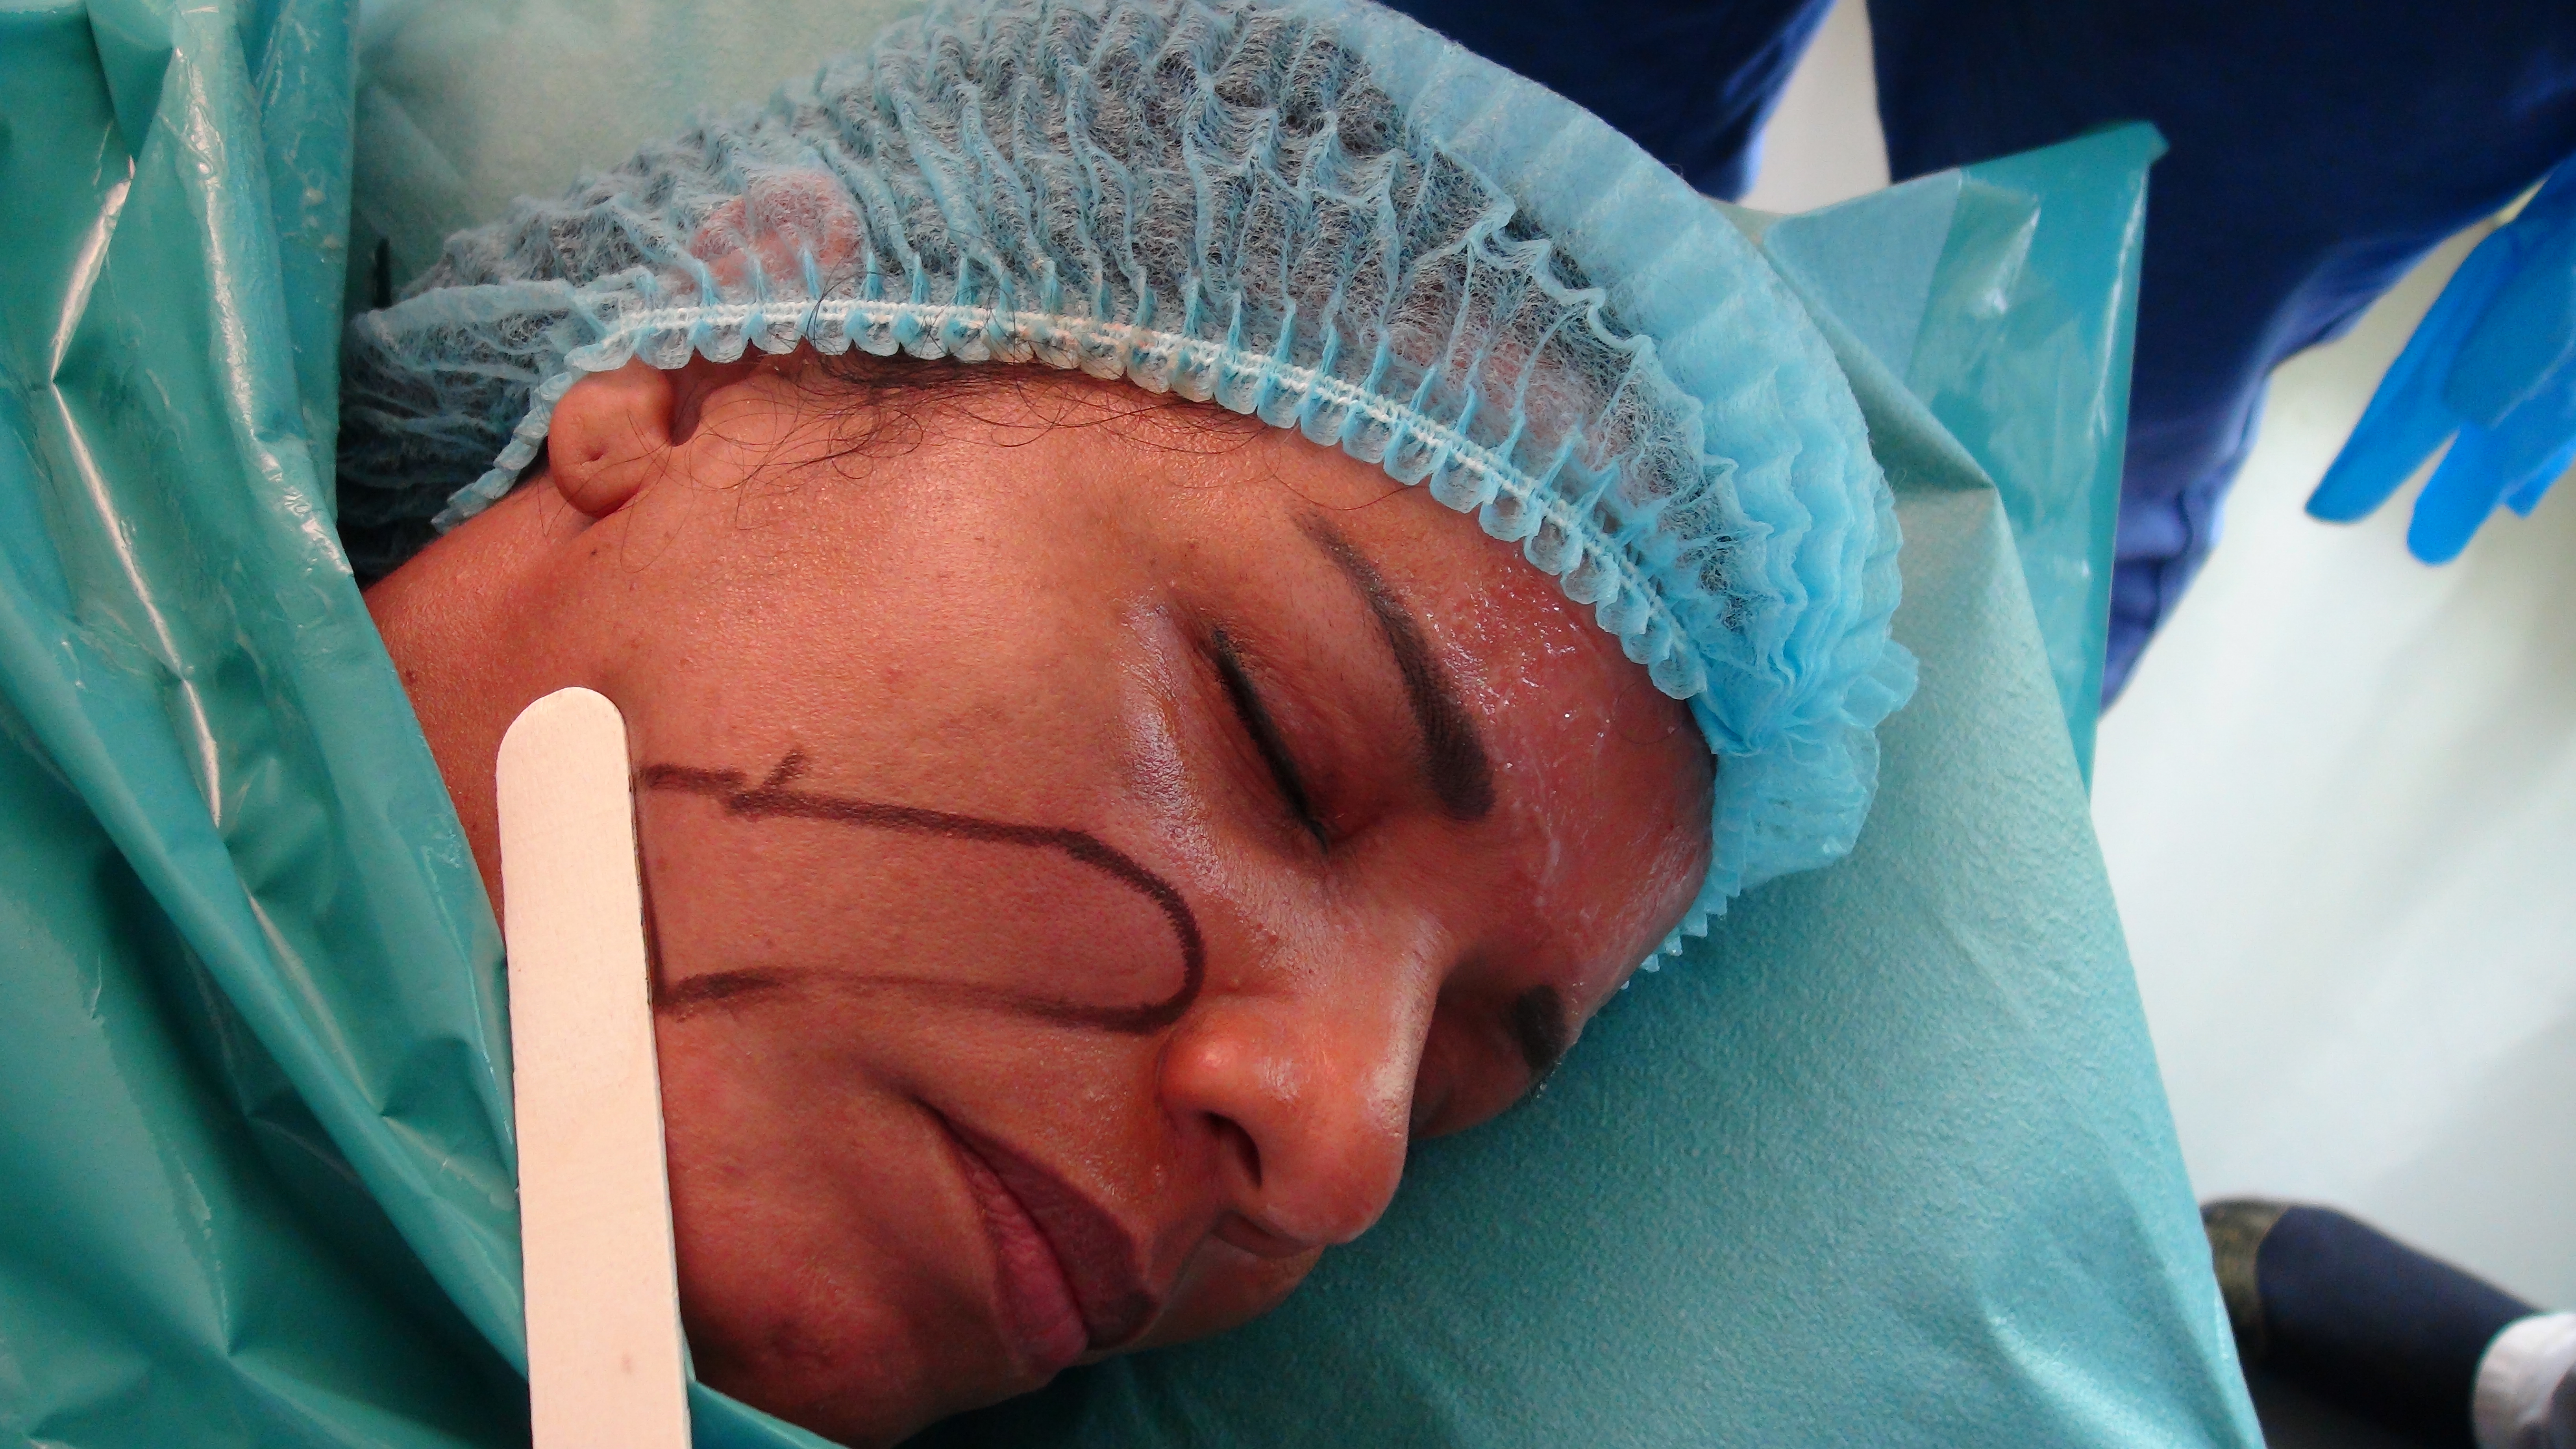
Step 1 : NLF marking
Draw with a pencil the deep fold of the nasolabial furrow, quite extended towards the lower third of the face
Marking the Naso Labial Furrow ( NLF) Area
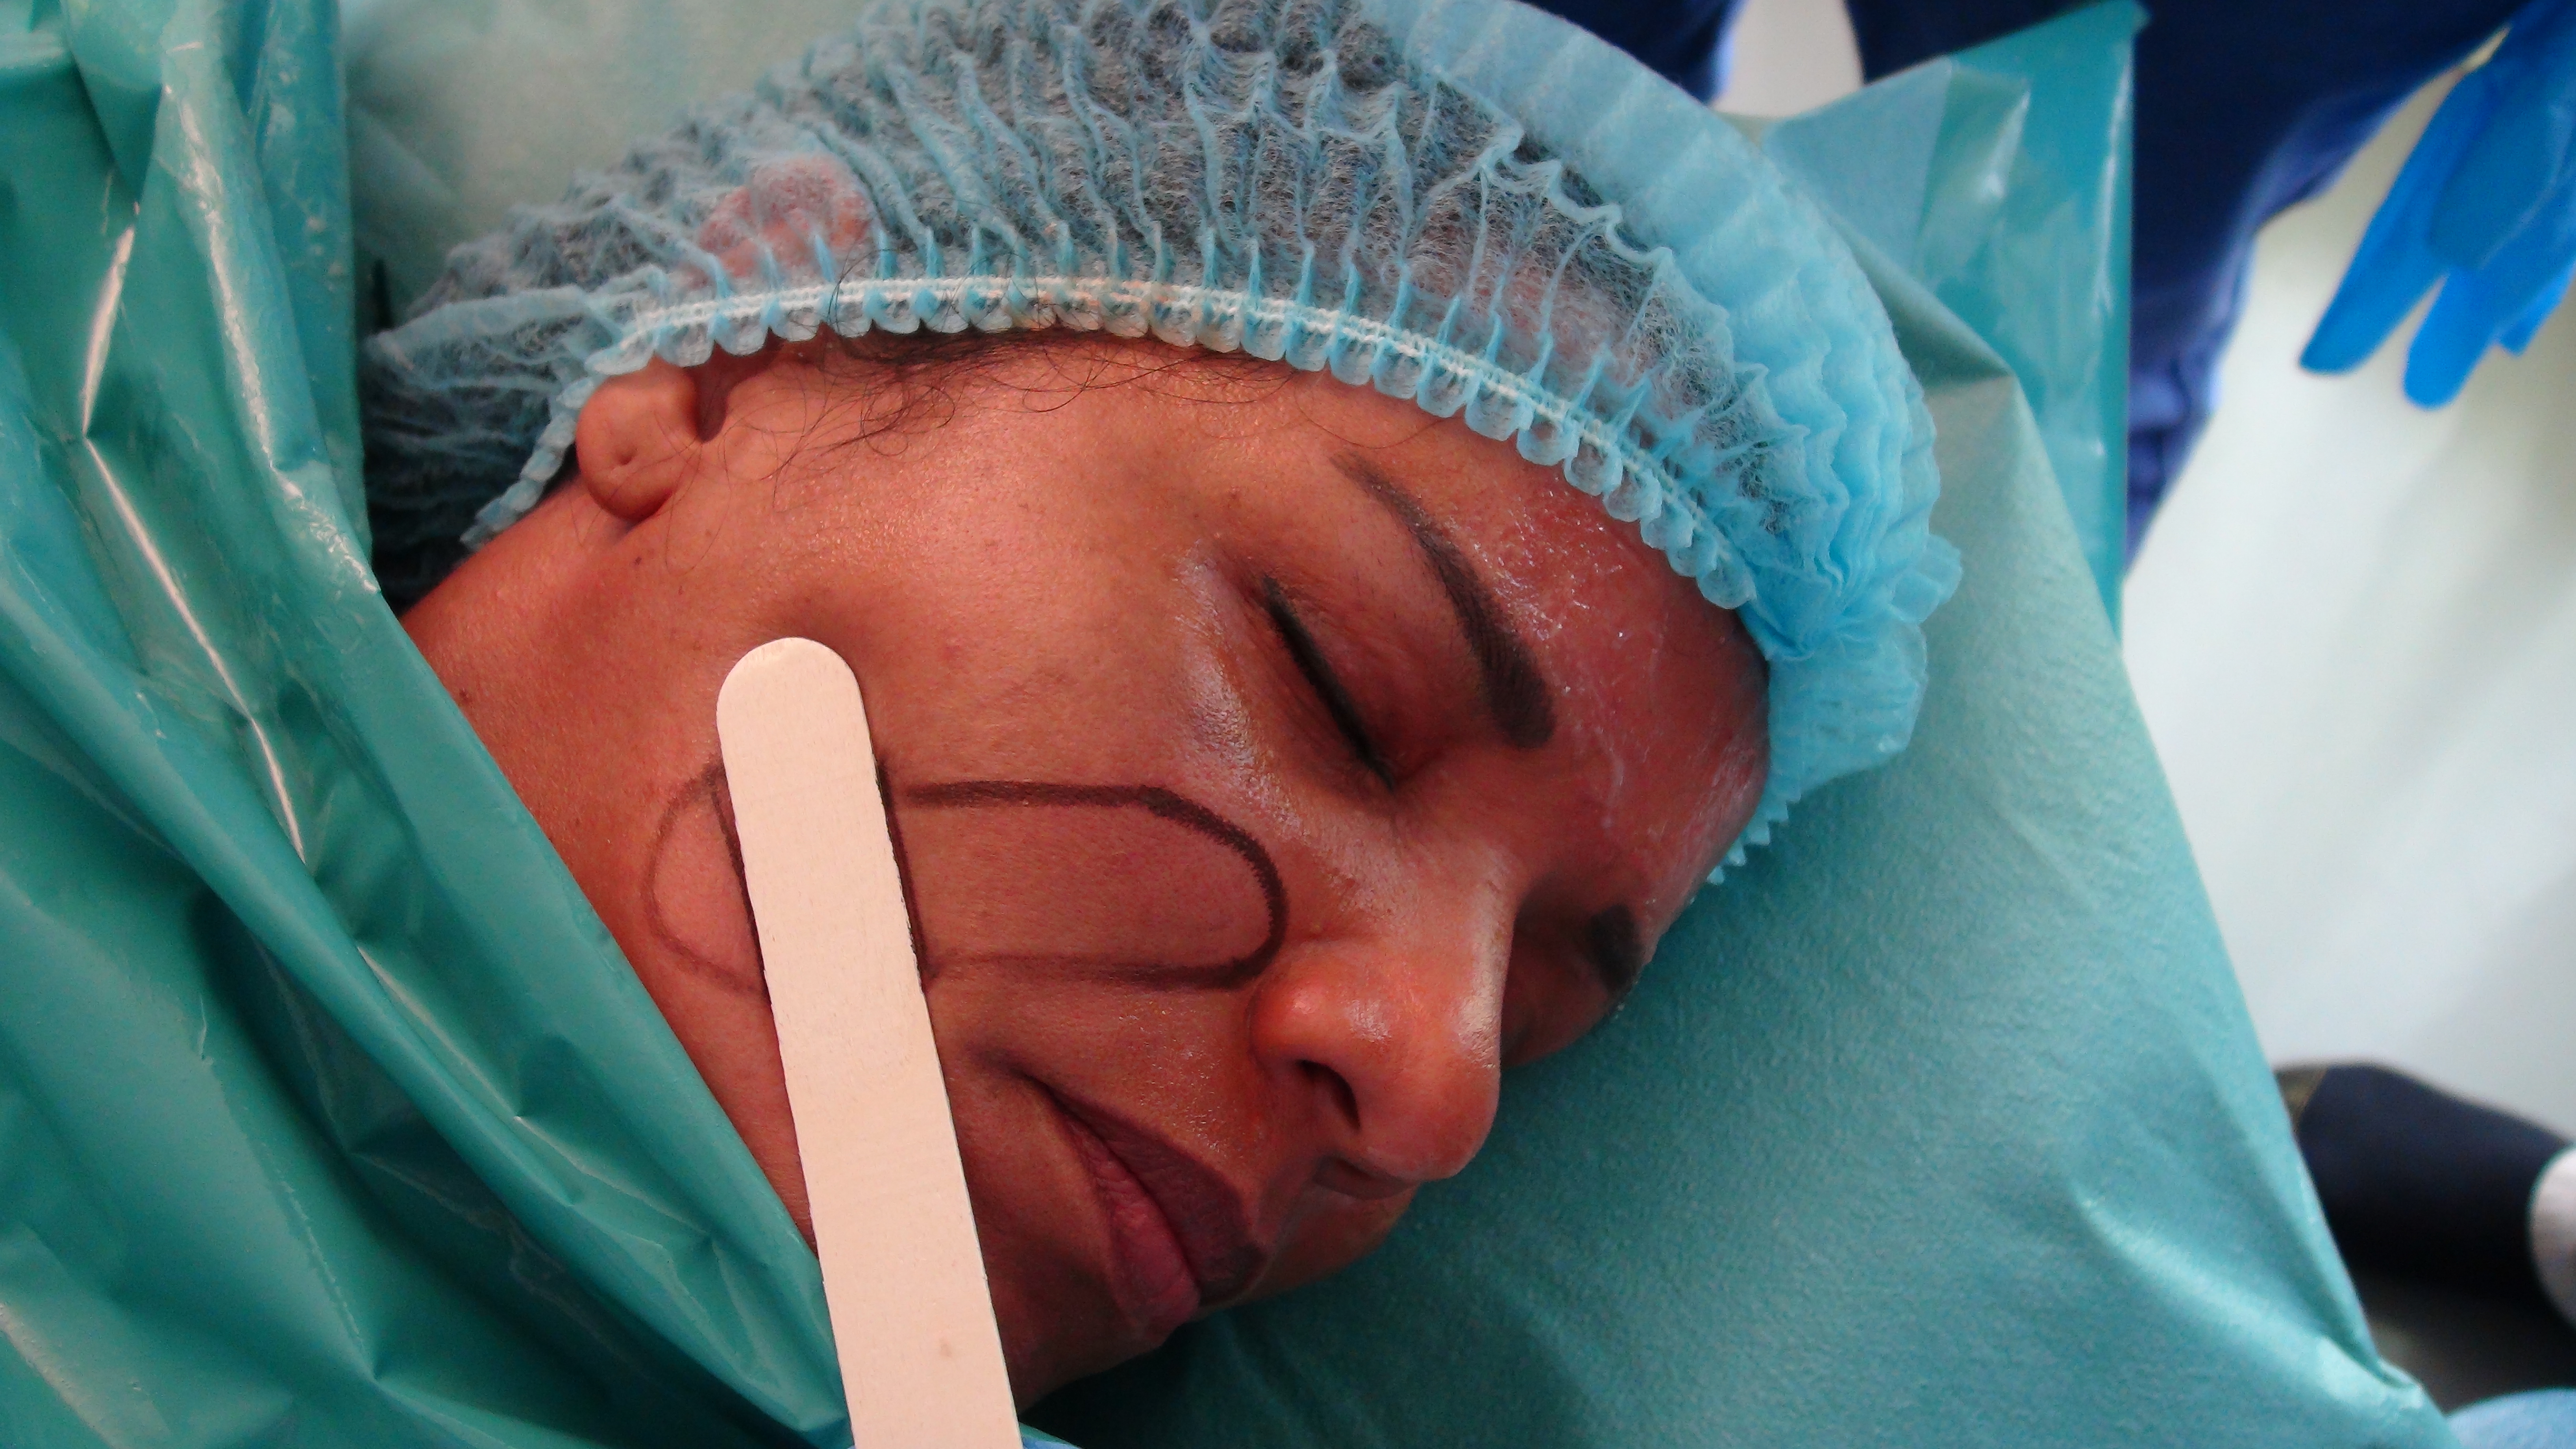
STEP 2 : NLF MARKING
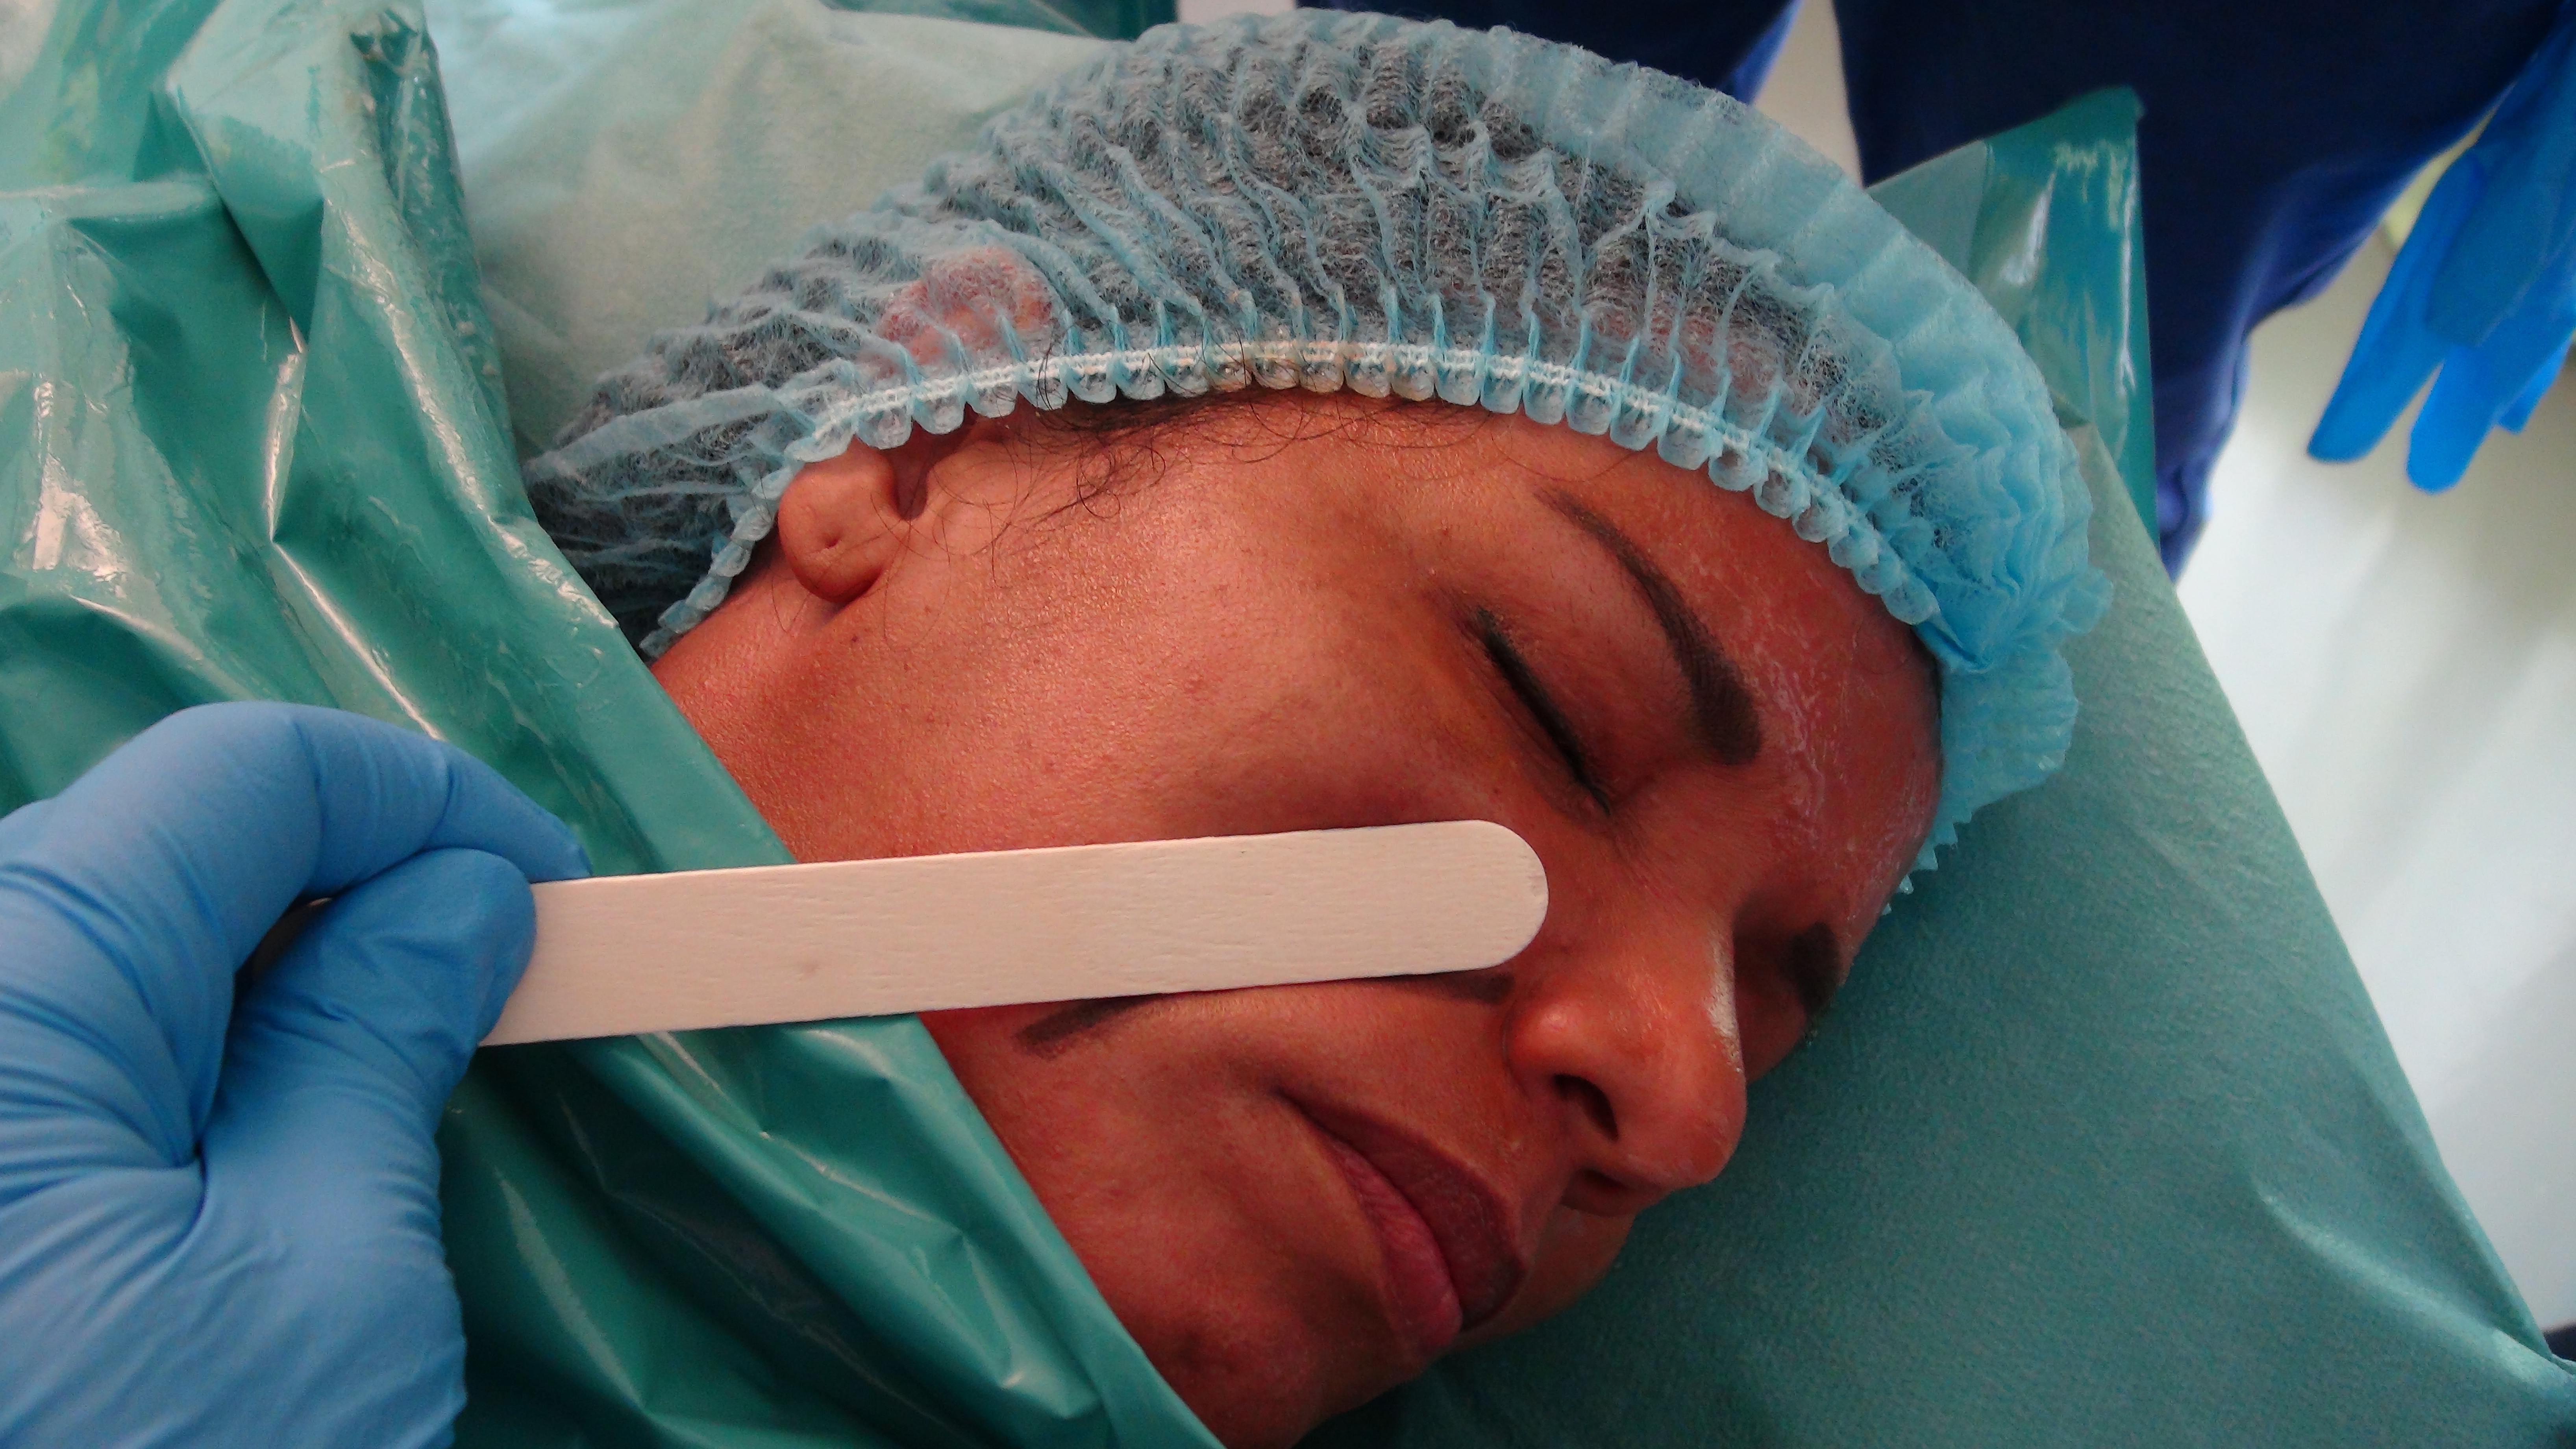
Place the tongue depressor against and next to the 1st stroke of the pencil drawn in the naso-genius groove.
The width of the tongue depressor must be placed outside the nasolabial fold
STEP 3 : NLF MARKING
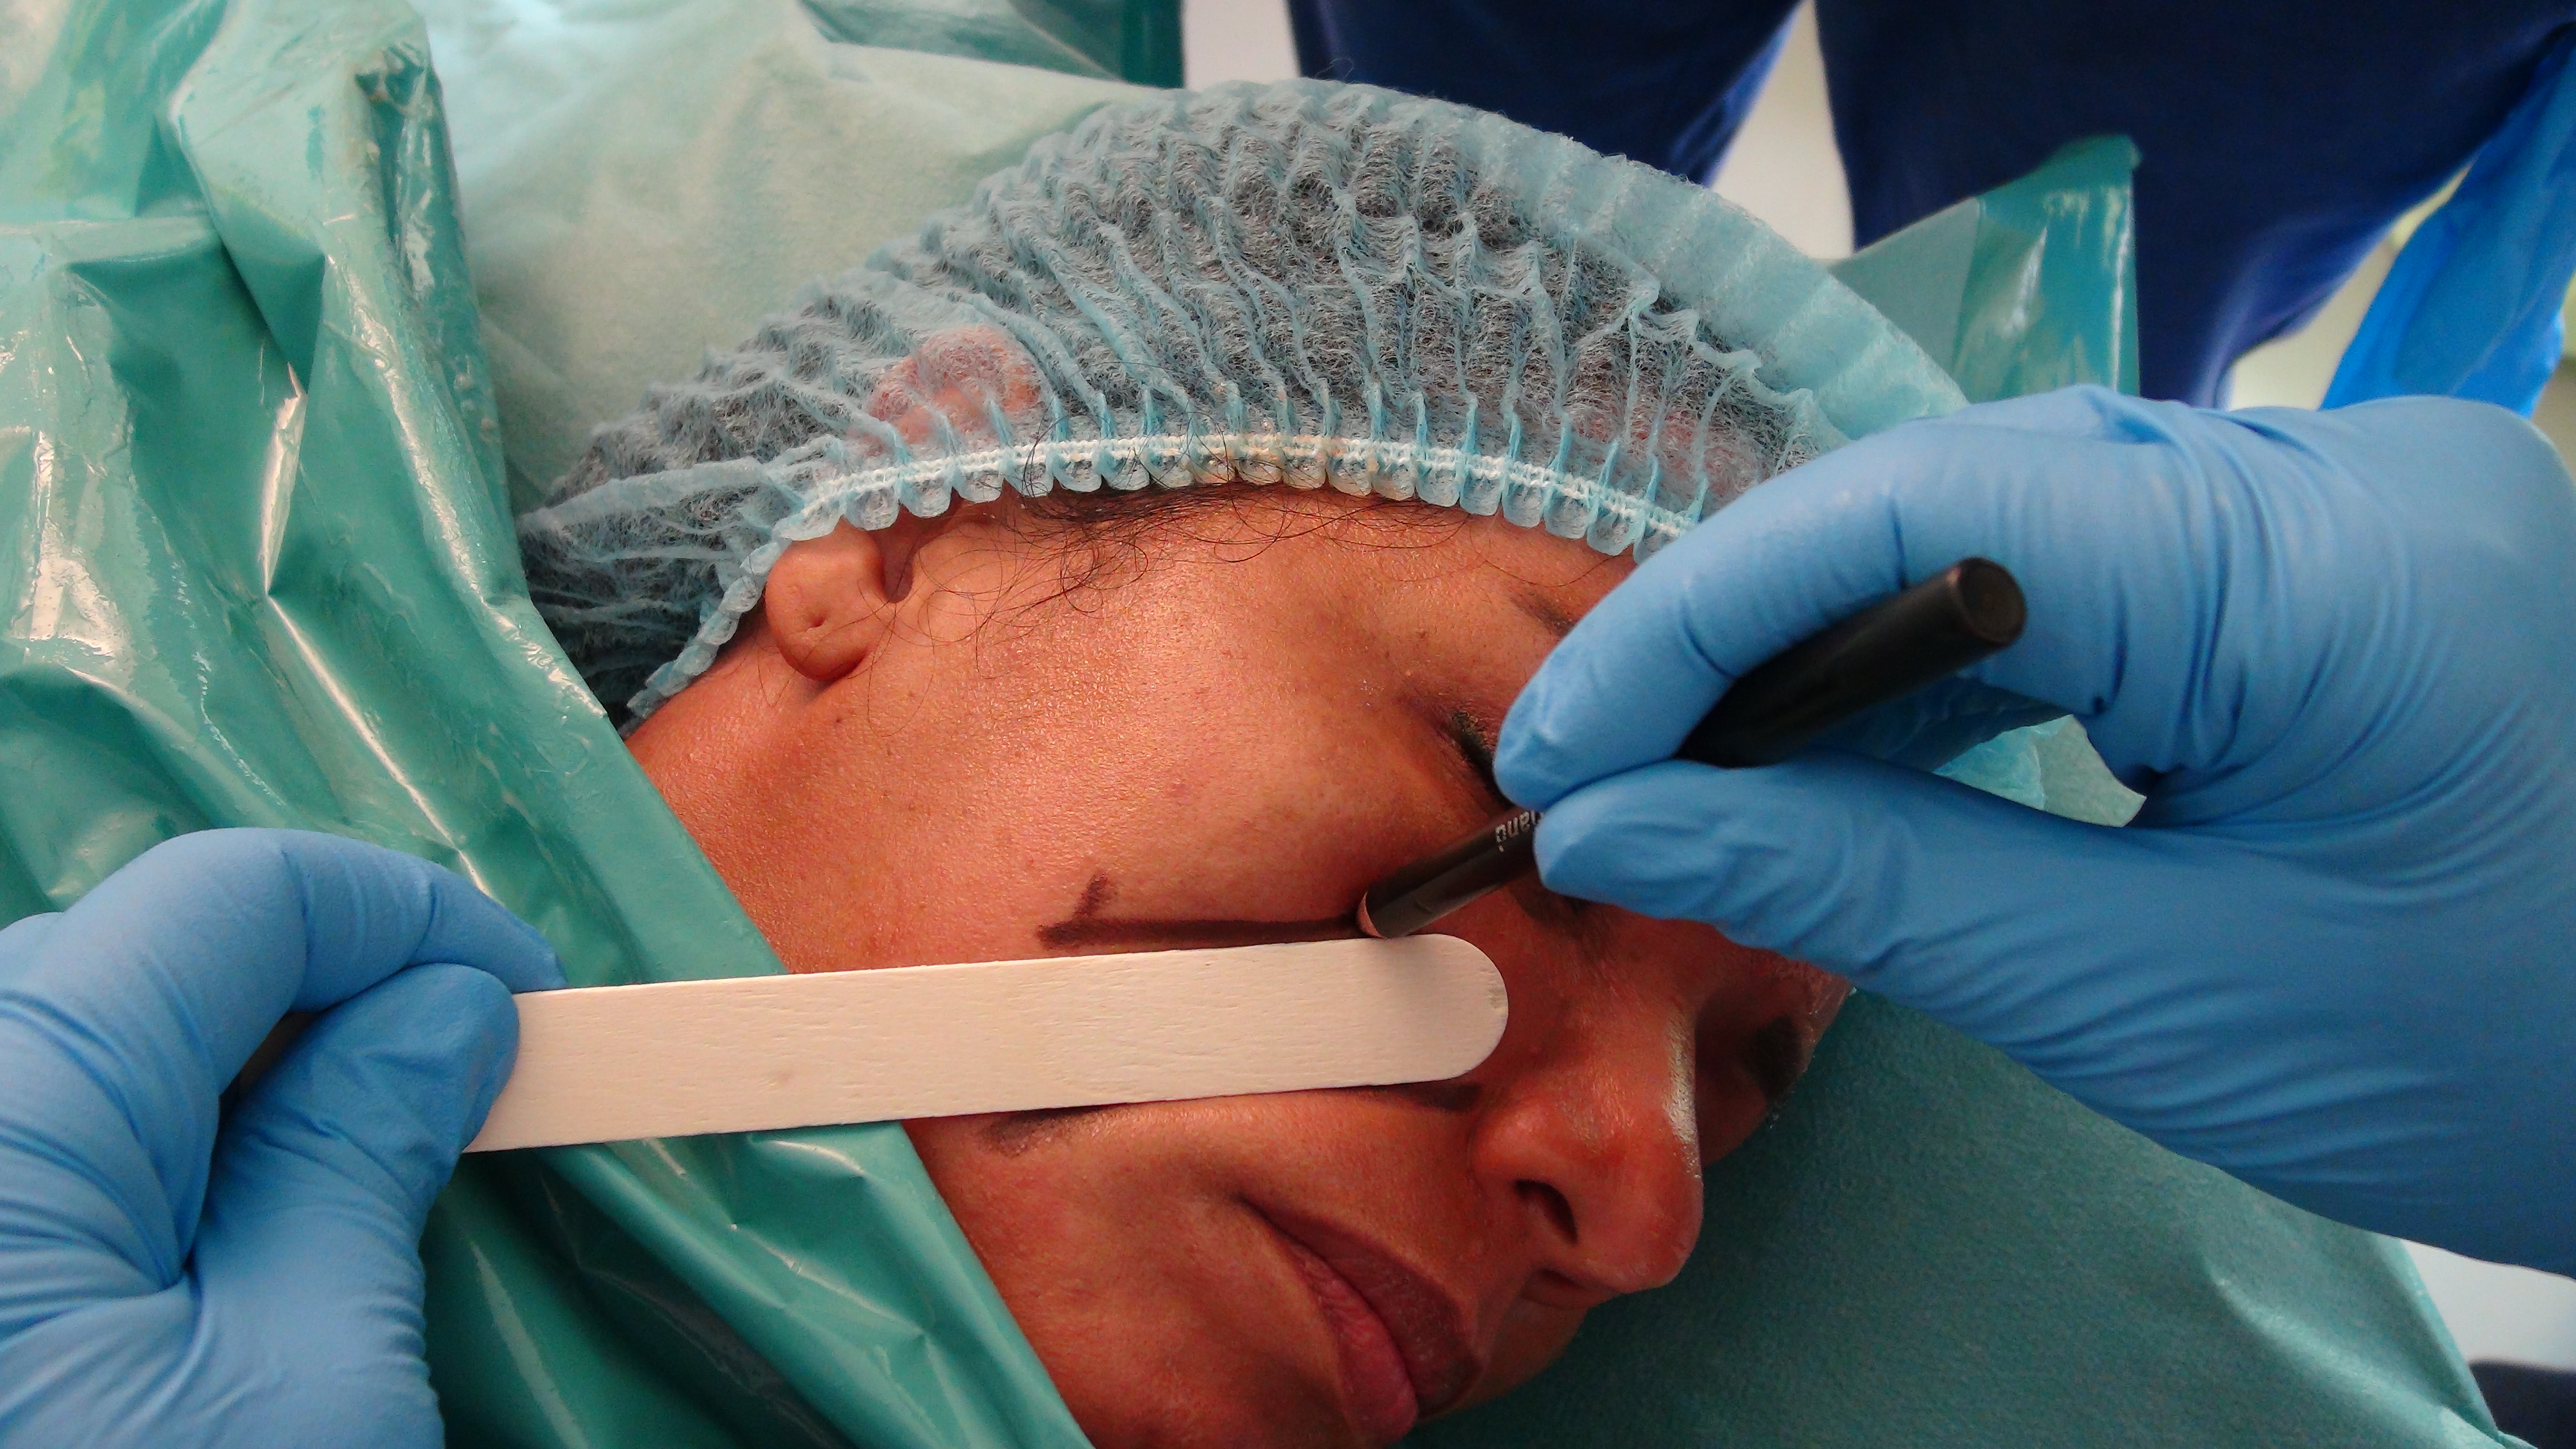
Trace the nasolabial area using the contours of the tongue depressor without changing its previous position
STEP 4 : NLF MARKING
Complete the marking
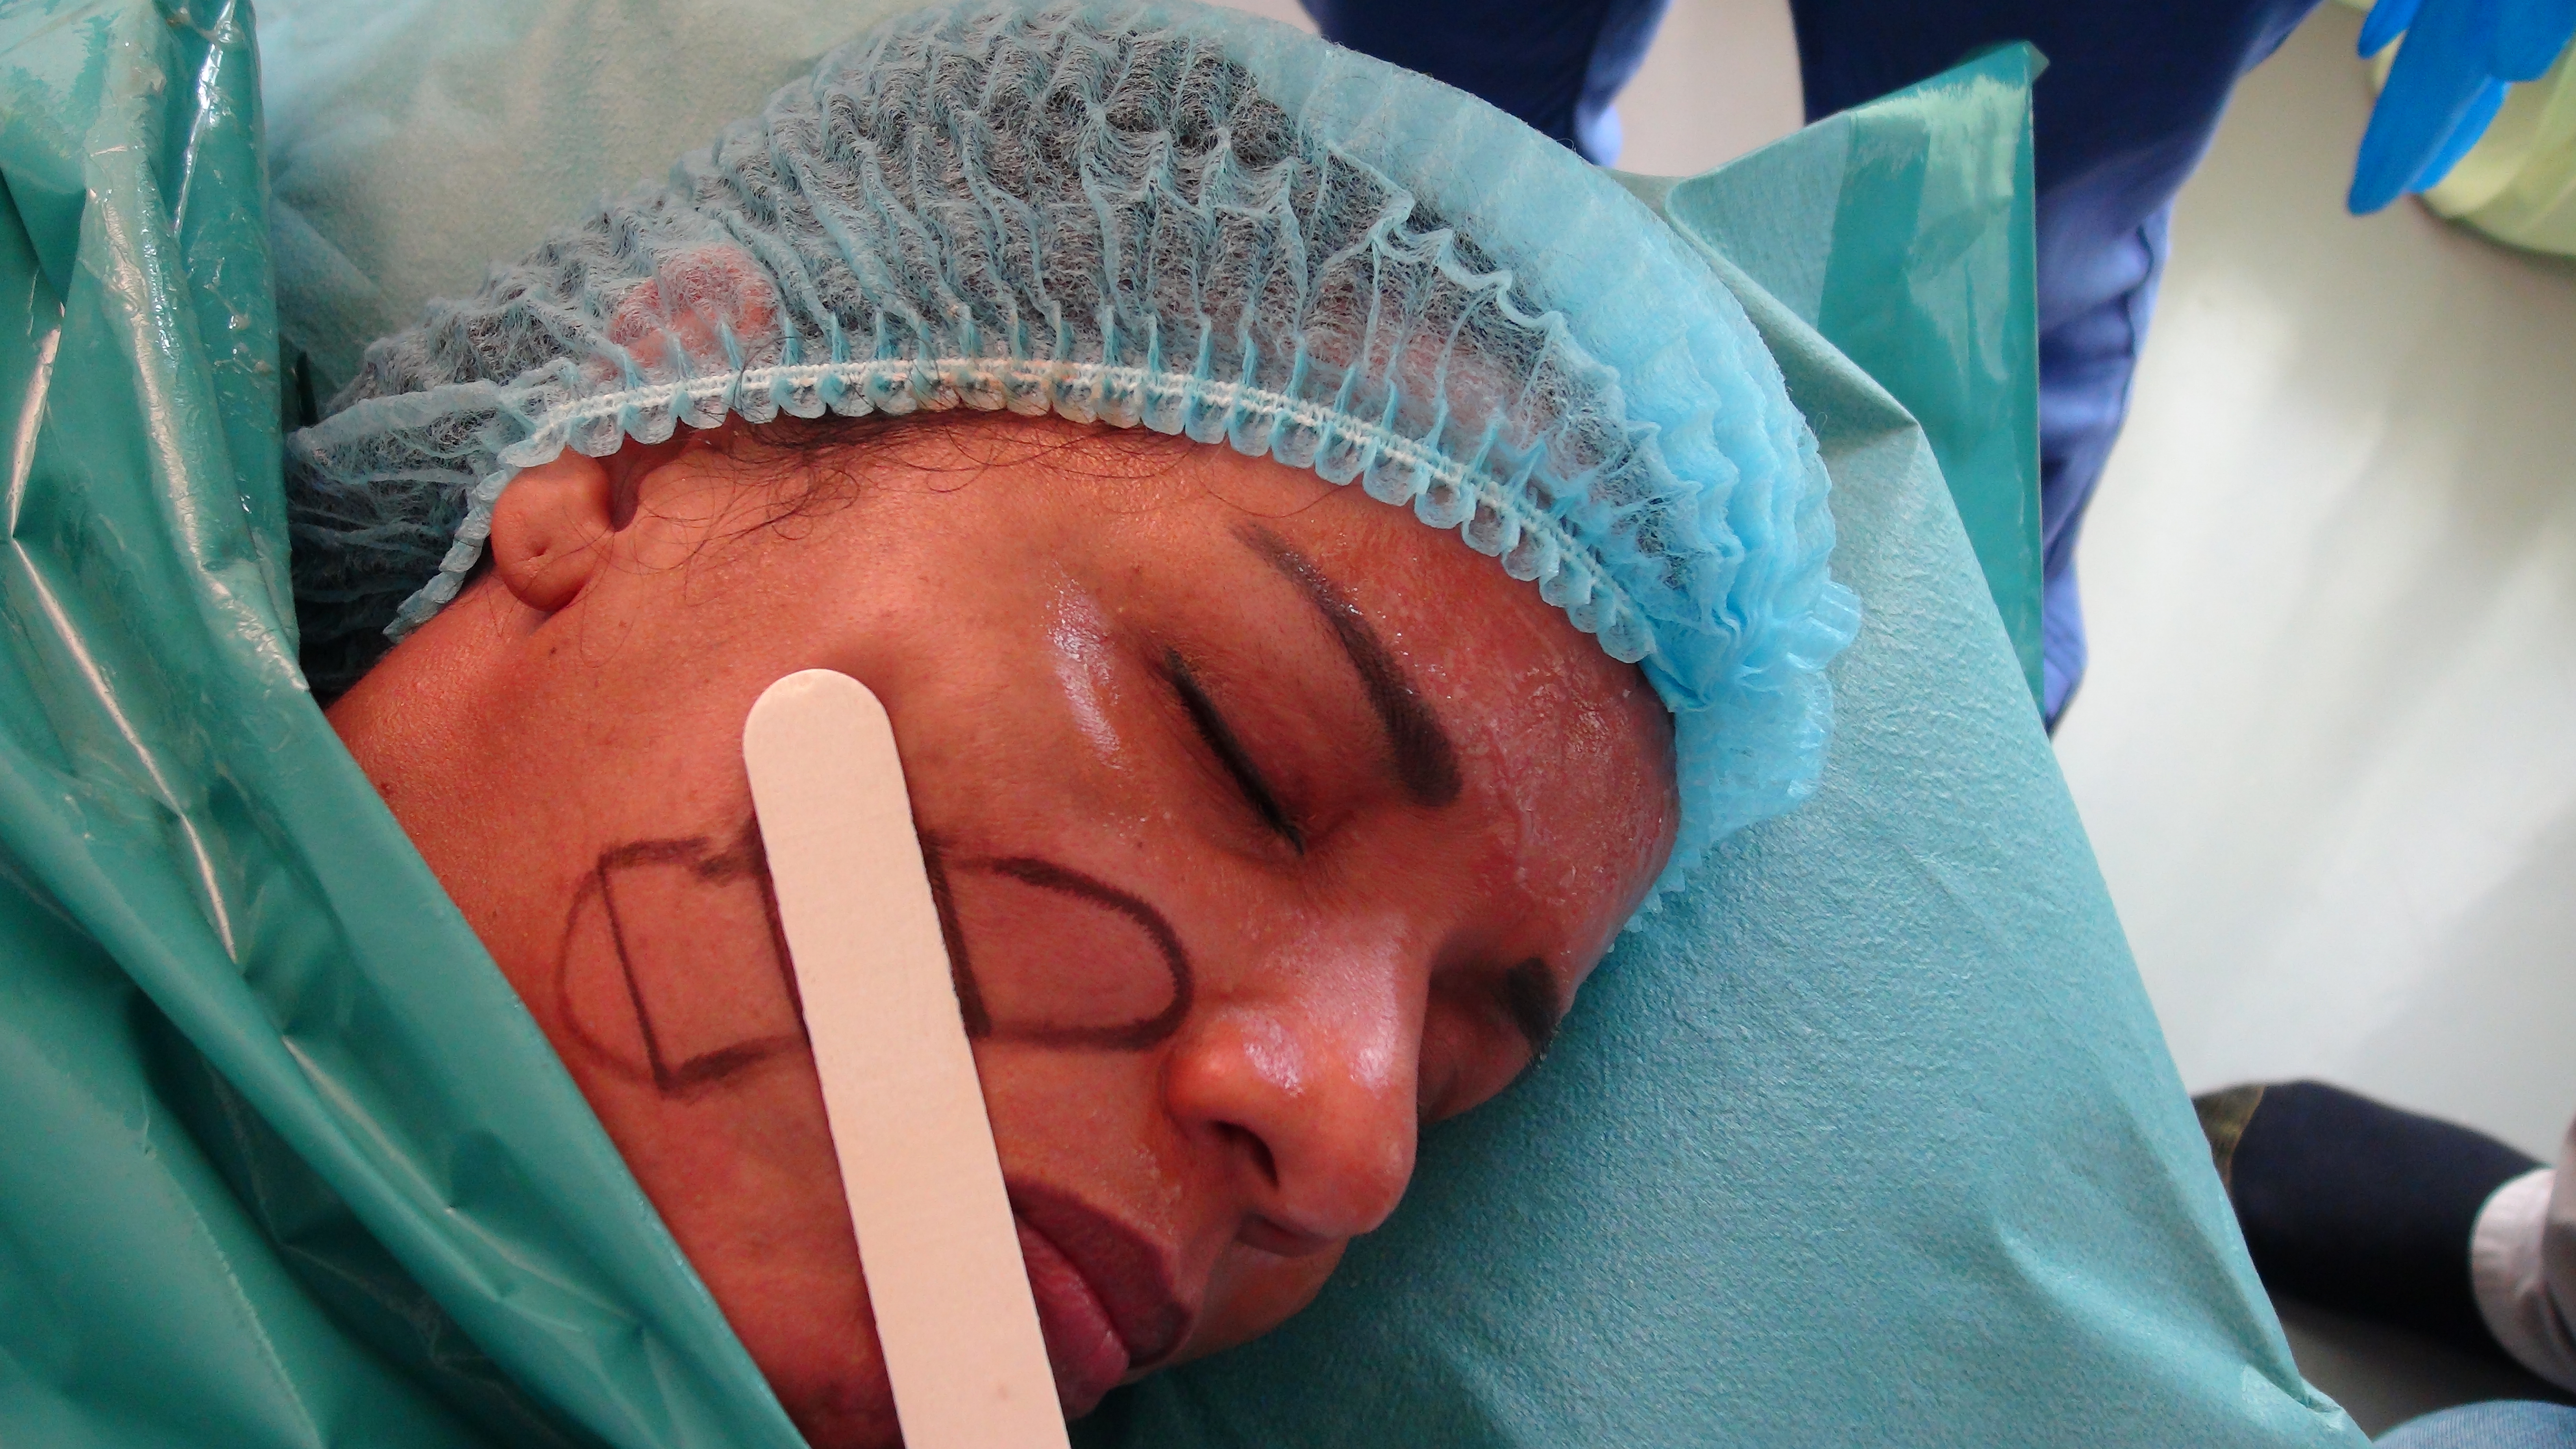
STEP 5 : NLF MARKING
To divide the naso-genial area into quadrants, use the tongue depressor which is applied from the bottom to the top of the naso-genial area.
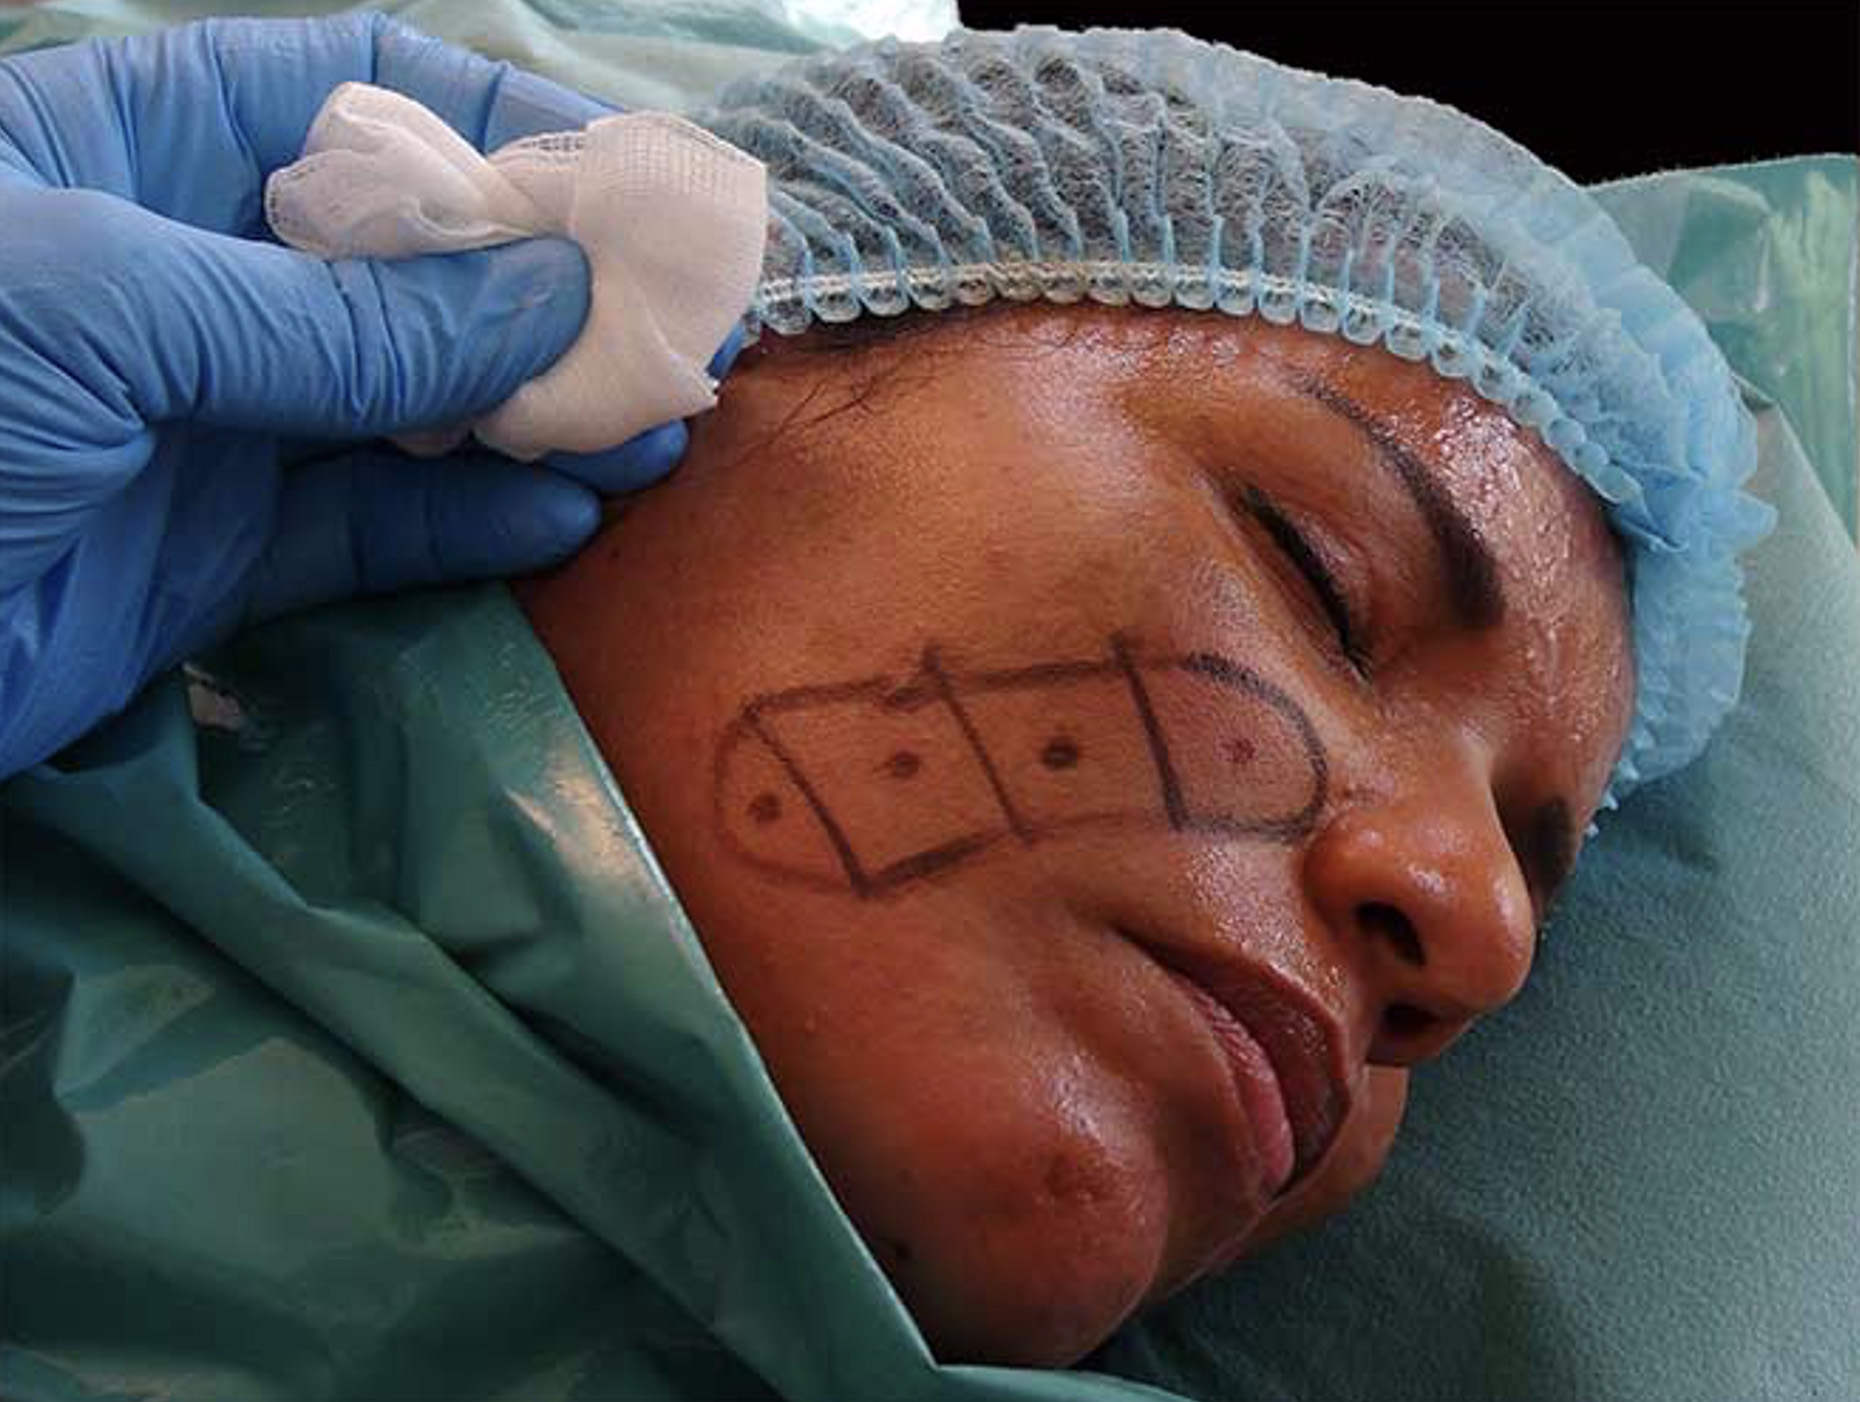
Dividing the Naso Labial Furrow Area in Squares or Cubes
STEP 7 : NLF MARKING
we proceed as before from bottom to top
STEP 8: NLF MARKING
STEP 9 : NLF MARKING
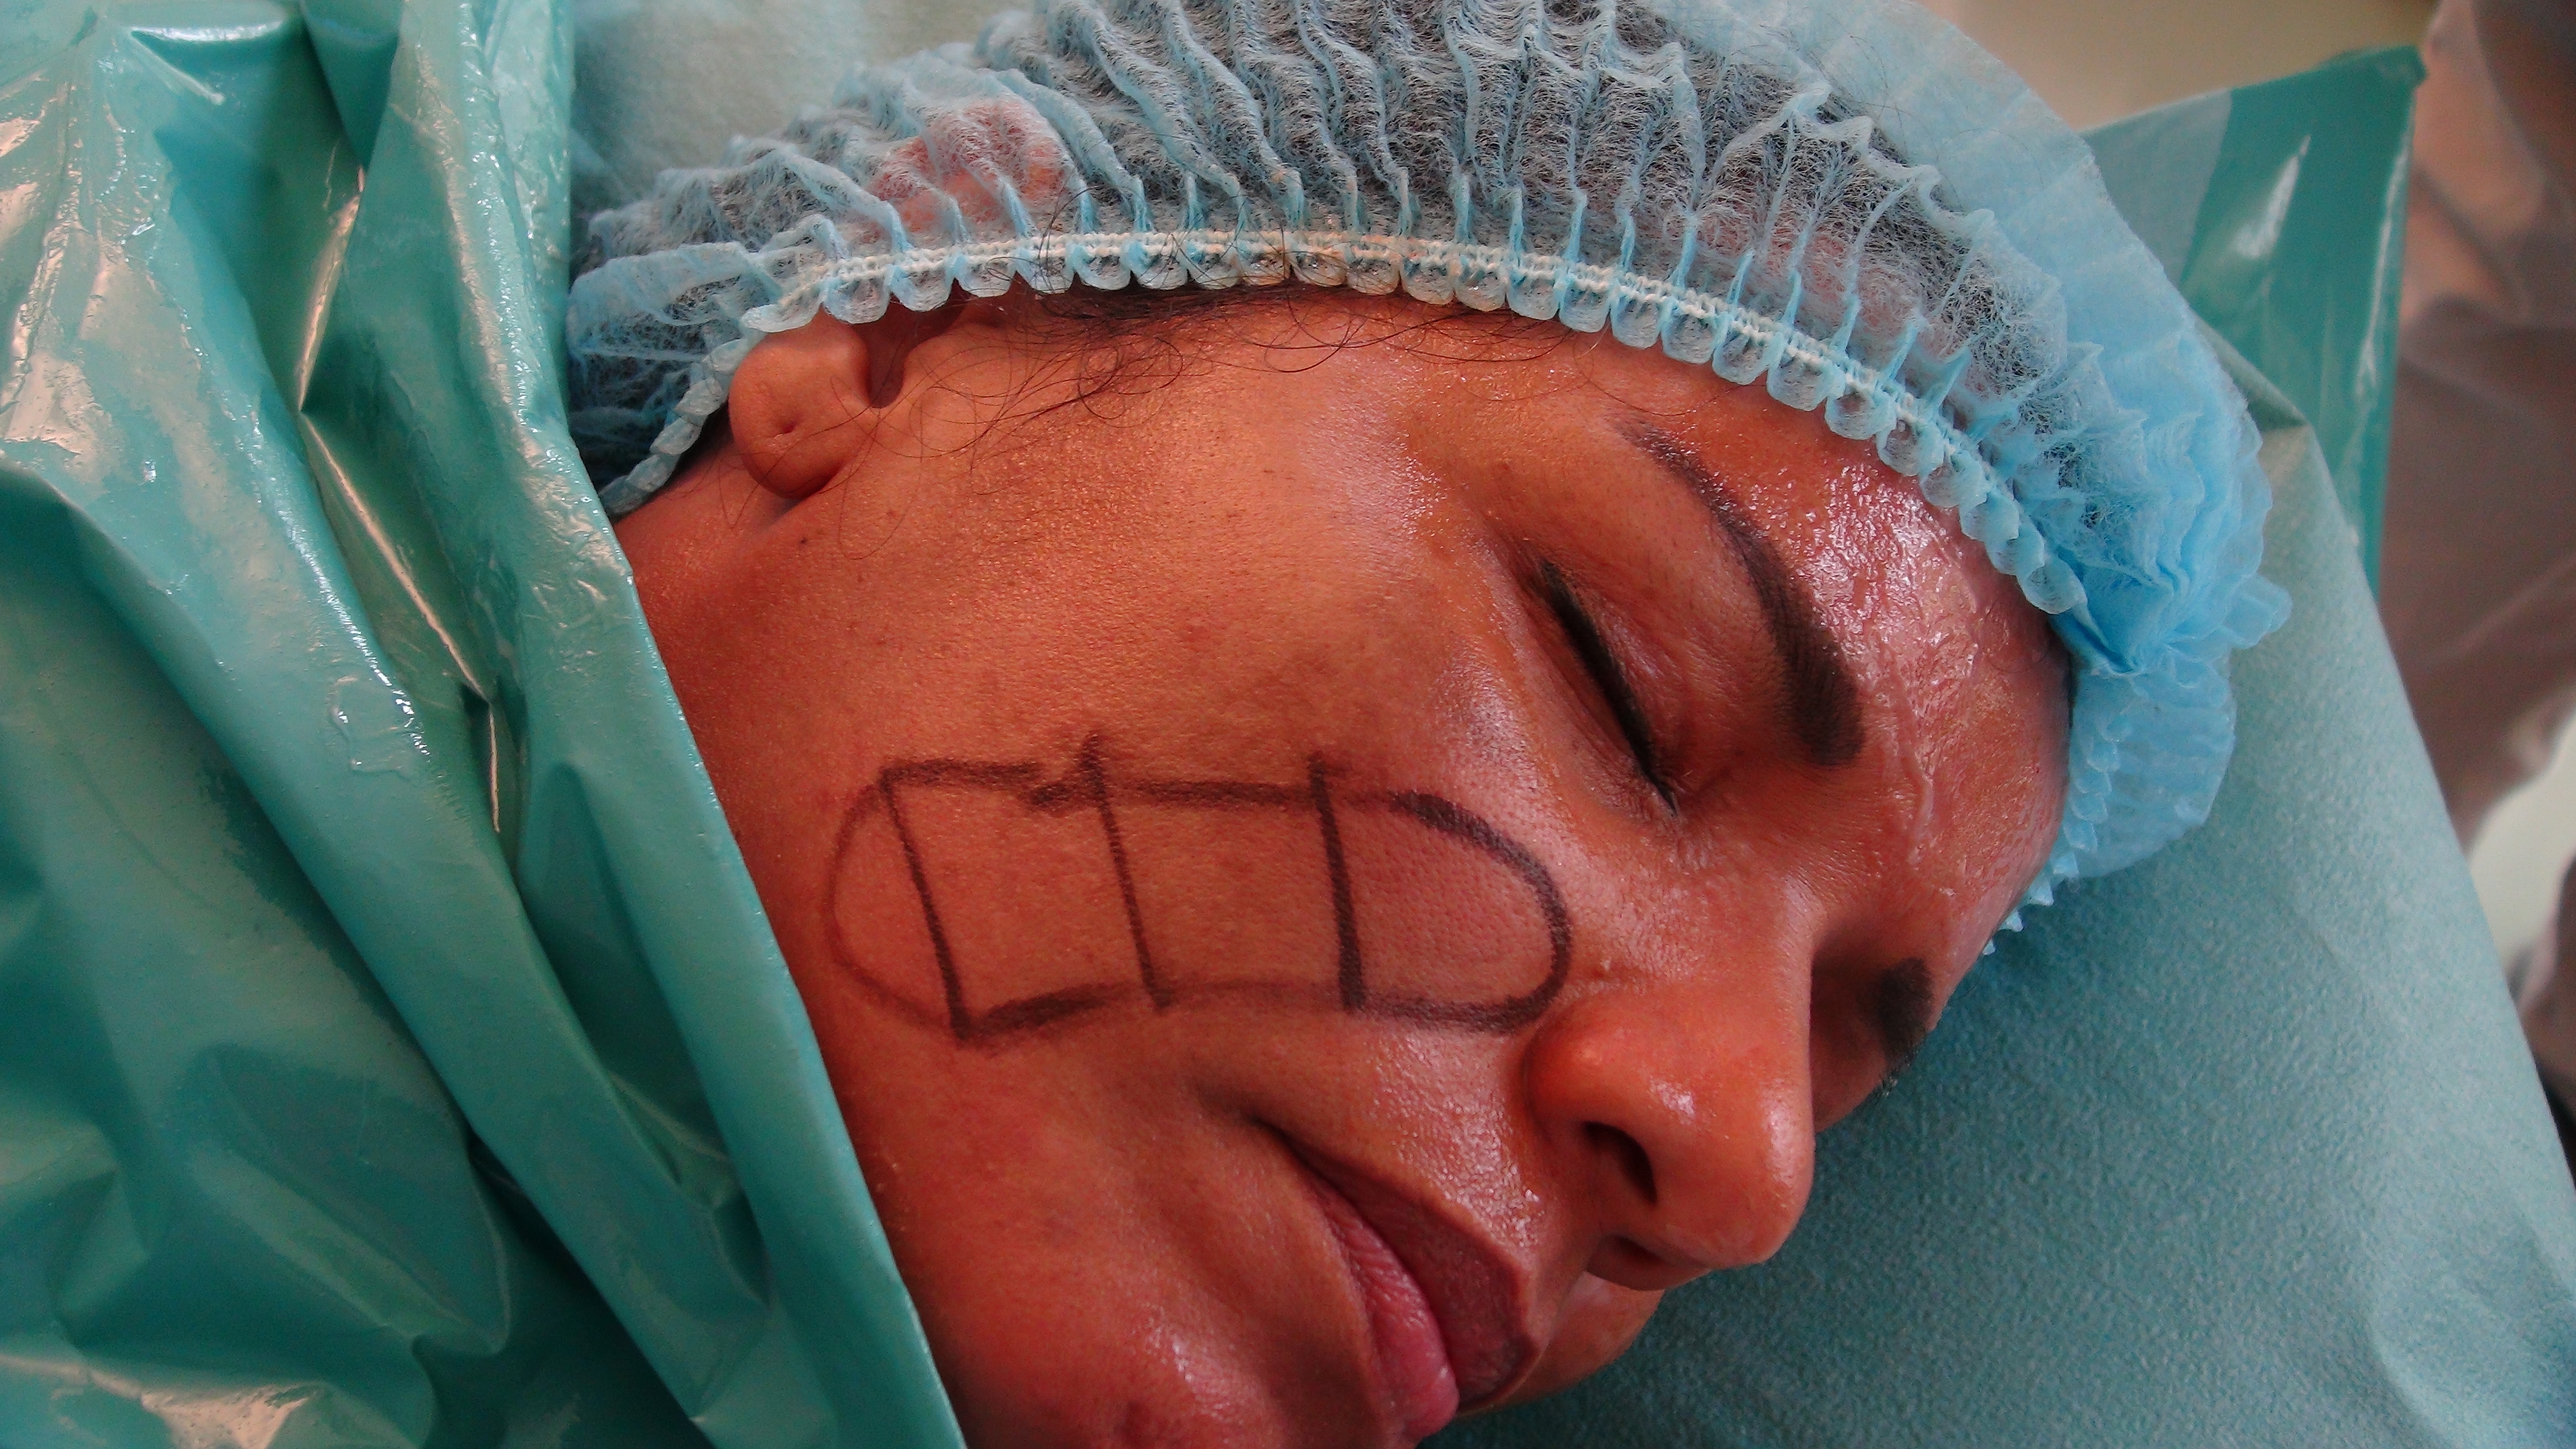
In general we can obtain 3 or 4 quadrants.
There is no symmetry between the right and the left hemiface , which means that 3 quadrants can be seen on one hemiface and 4 others on the controlateral one for the same patient. quadrants.
STEP 10: NLF MARKING
Each vector has to be applied ,, normal,, to the plan of each NFLs square or quadrant.
- 1 Vector per Square
- Applied to the center of each square
- Normal or perpendicular to the plan of the Naso Labial Furrow Area.
STEP 11 : NLF MARKING
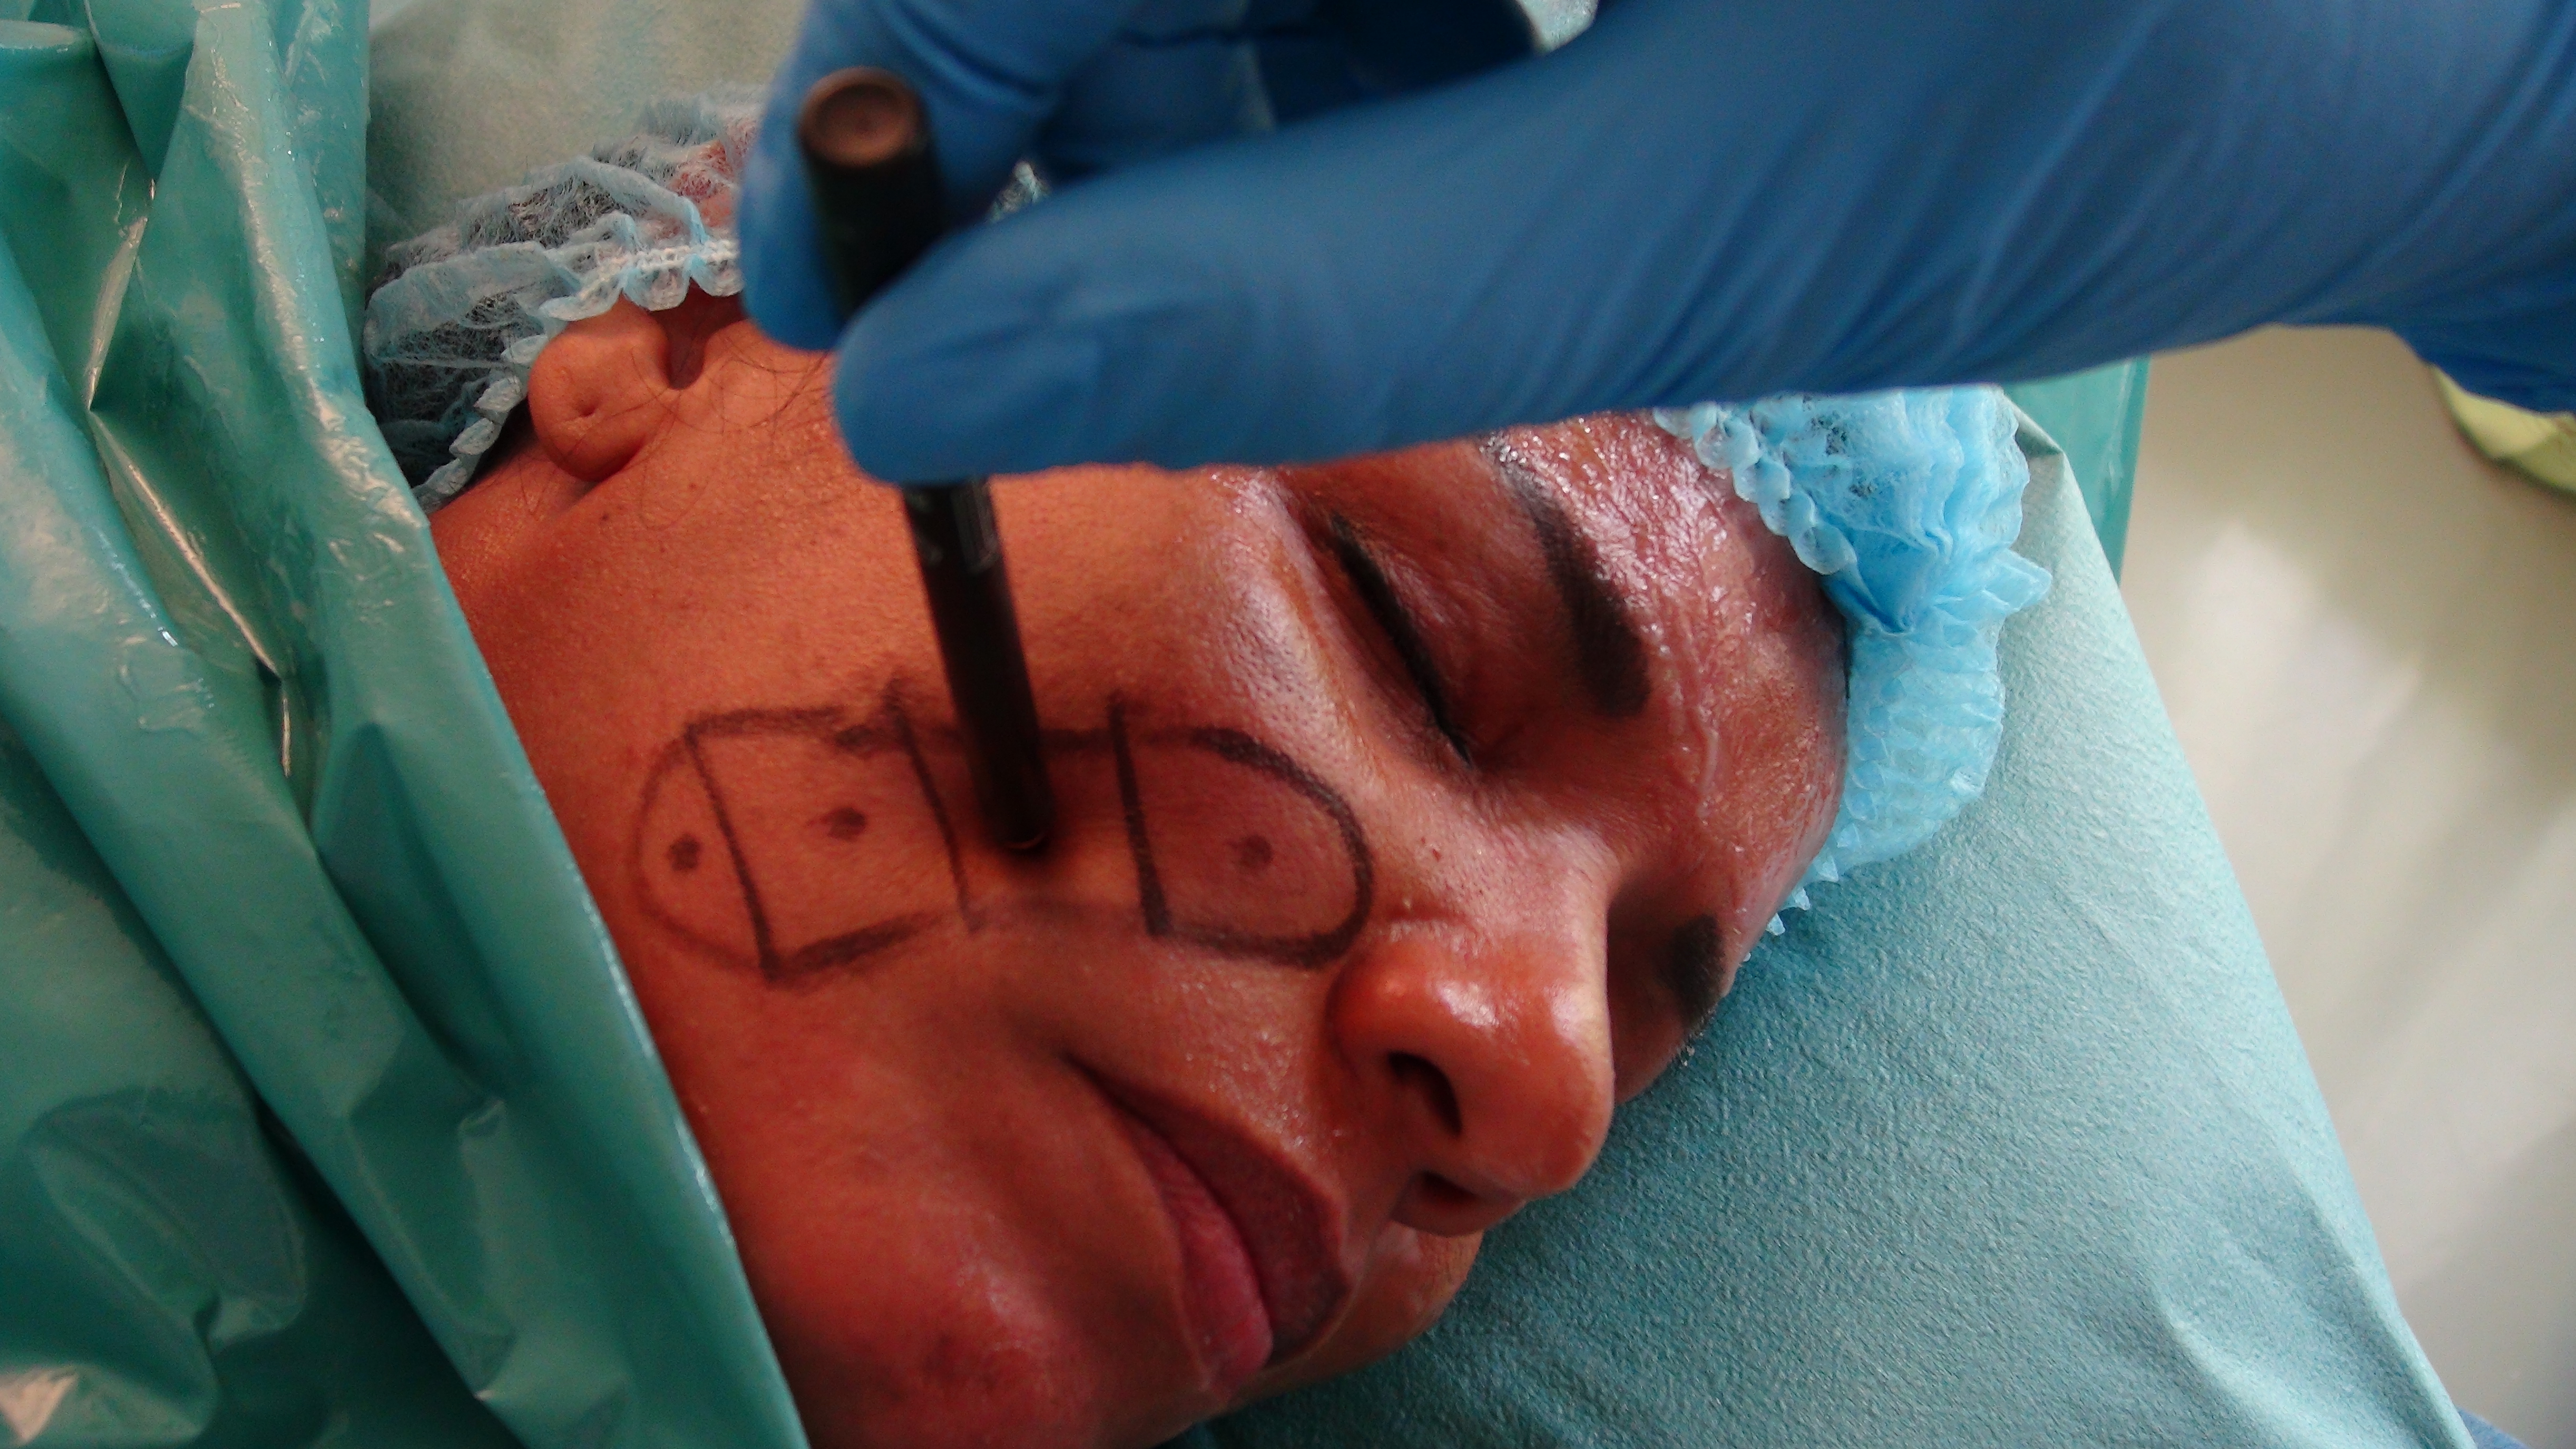
As precedent. The pen is showing how to apply a vector.


